Making Macarons with Bakels Macaron Mix
Macarons are every baker’s worst nightmare. Most of us have, true love and hate relationship with these little buggers.
Our own first ever batch, from years ago, turned out perfect. Beginners luck? More than likely yes, as following 125 batches turned out nothing but a nightmare.
If you have tried to bake macarons before, and they turned out cracked, with no feet, flat, leaned, spread out, and so on, trust me, you’re not alone. Worst part, things that could go wrong and effect the end result, are so many, that you are pretty much flying blind, and have no idea where you’ve gone wrong.
So, when we heard about Bakels macaron mix, understandably we were intrigued and excited at the same time. Will it actually work, and could it really be this simple?
Obviously, we had to put it to a test to see it ourselves. And let me tell you, we weren’t very optimistic about this, which we now kind of regret, as the end result would have been so much better, had we put some more effort to it.
So, here’s our attempt baking macarons, with Bakels macaron mix.
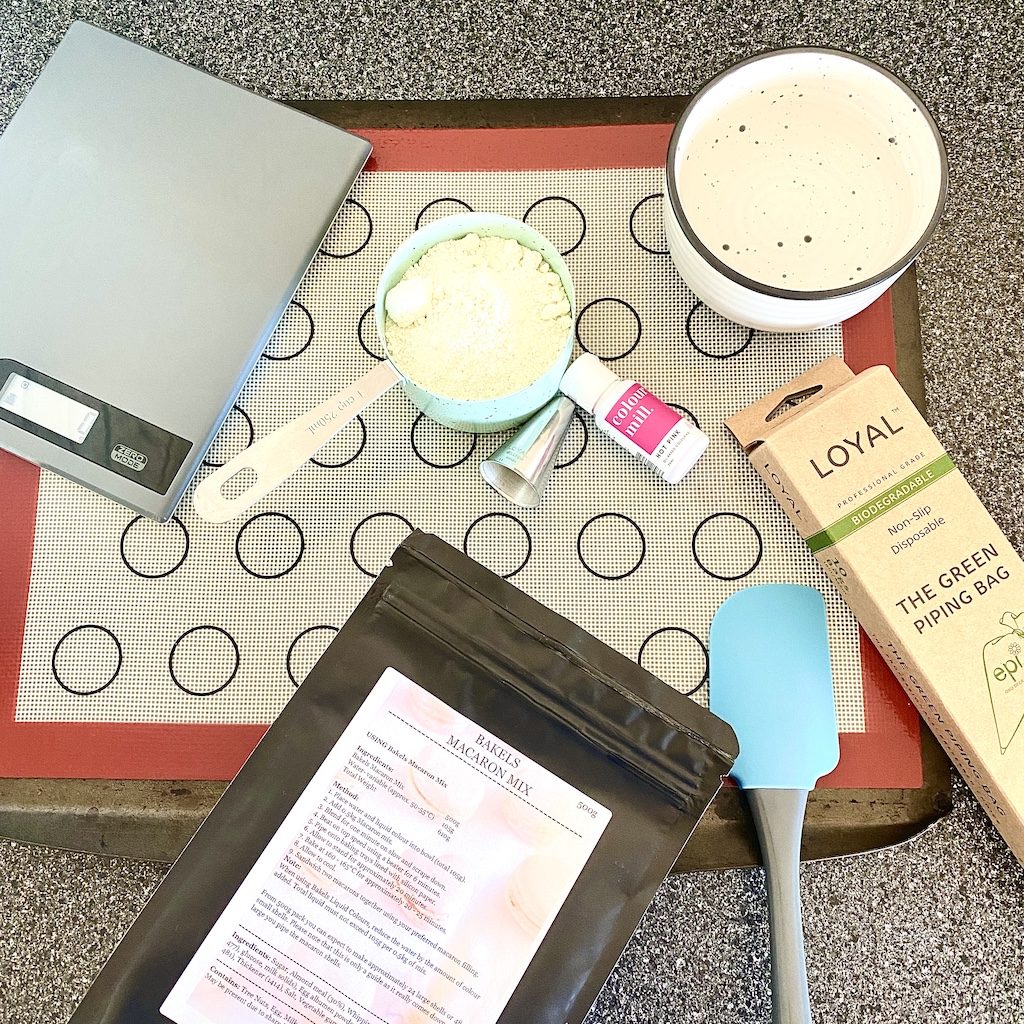
Ingredients
- 500g Bakels macaron mix
- 105ml water
- Food colouring (optional)
Equipment
- Kitchen scales
- Mixing bowl
- Baking sheet
- Baking paper or silicone baking mat
- Spatula
- Piping bag and nozzle
Making the Macarons
The packaging comes with the instructions, that are super easy to follow. Simply weight out the macaron mix, to you mixing bowl, and add water to it. Simple right?
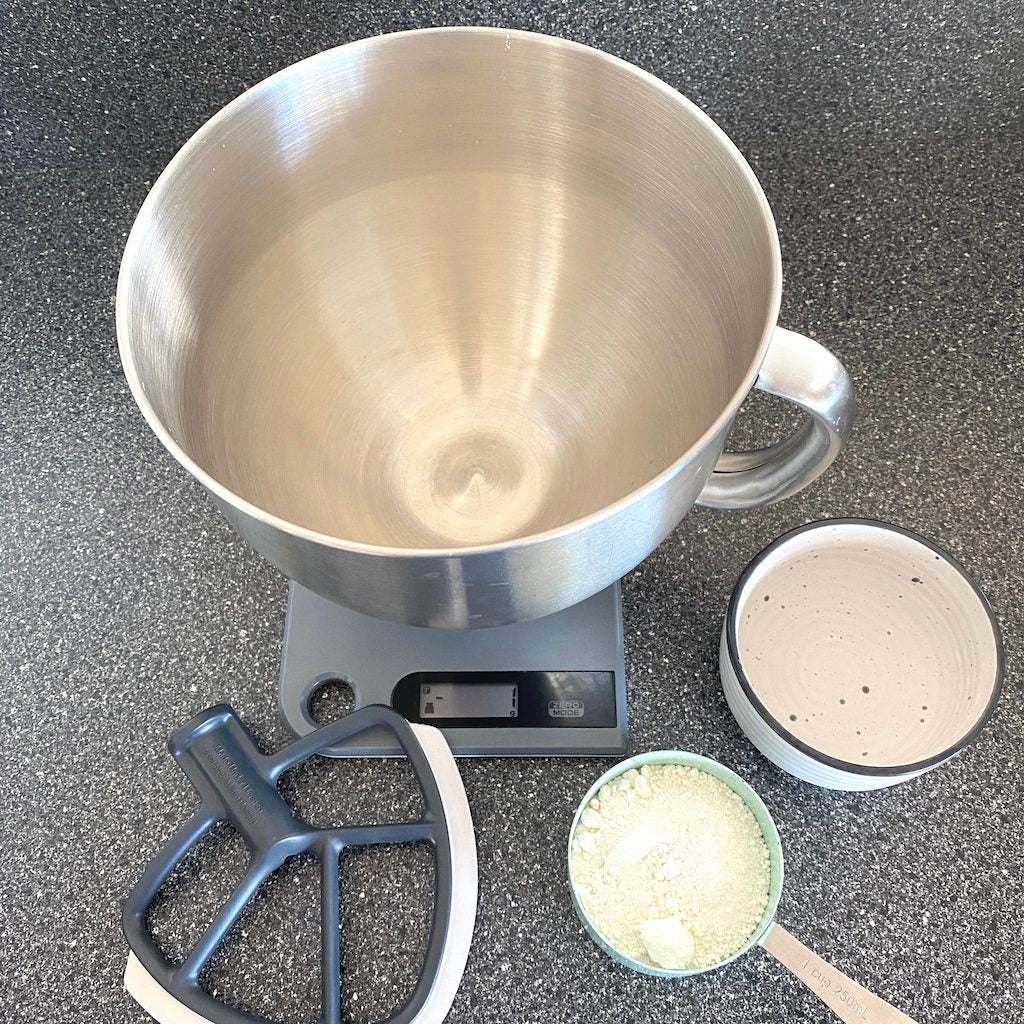
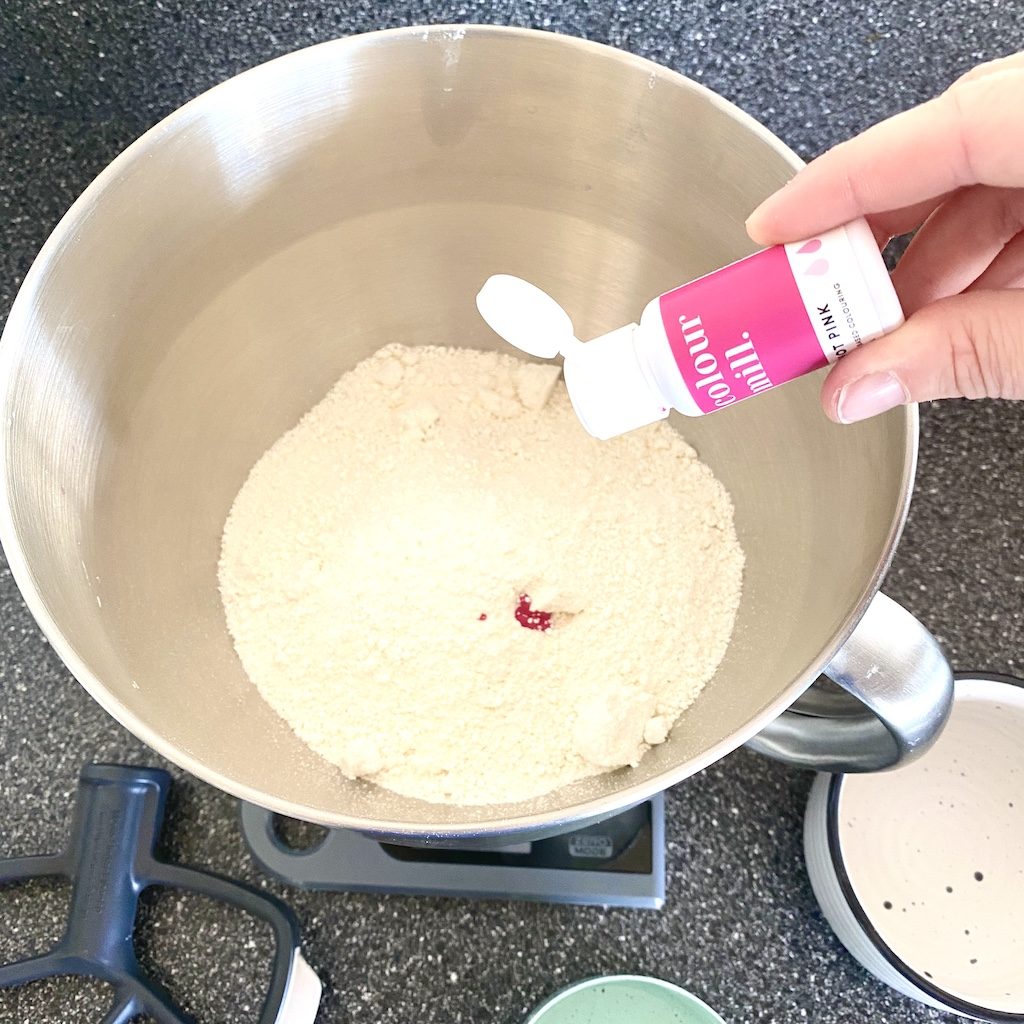
If you'd like to colour your macarons shells, now is the time to do so. Add the gel or oil based food colouring to your macaron mix, before you start mixing it. The packaging does come with a note though. If you choose to use edible food colouring, make sure that the total liquid does not exceed 105ml. So, you want to reduce the amount of water you use.
Place the mixing bowl to your stand alone mixer, and mix it on low speed for one minute.
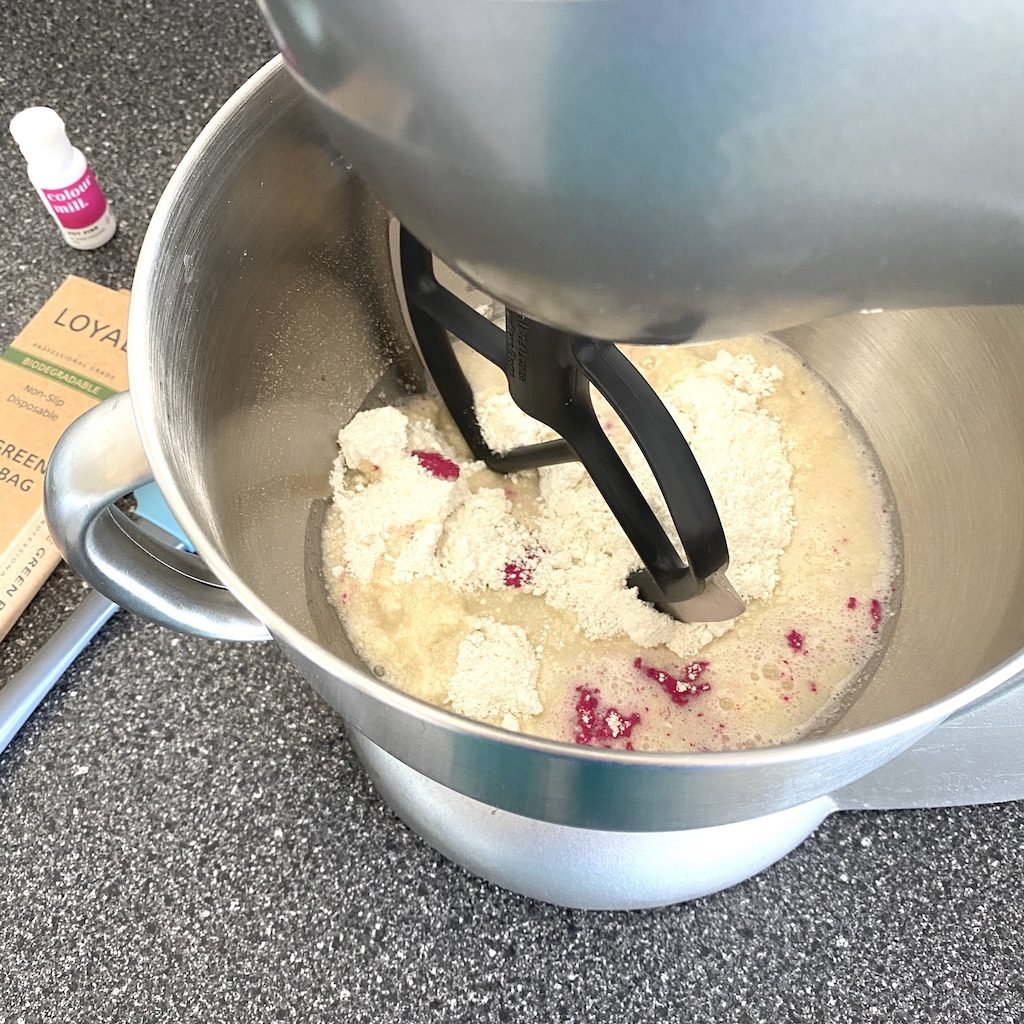
After the first minute, scrape down the bowl and place it back to the mixer. At this stage the mix did not look very promising. It seemed very thick, with hardly any air in it. Suppose it's normal, as you basically just incorporated the ingredients in this first step.
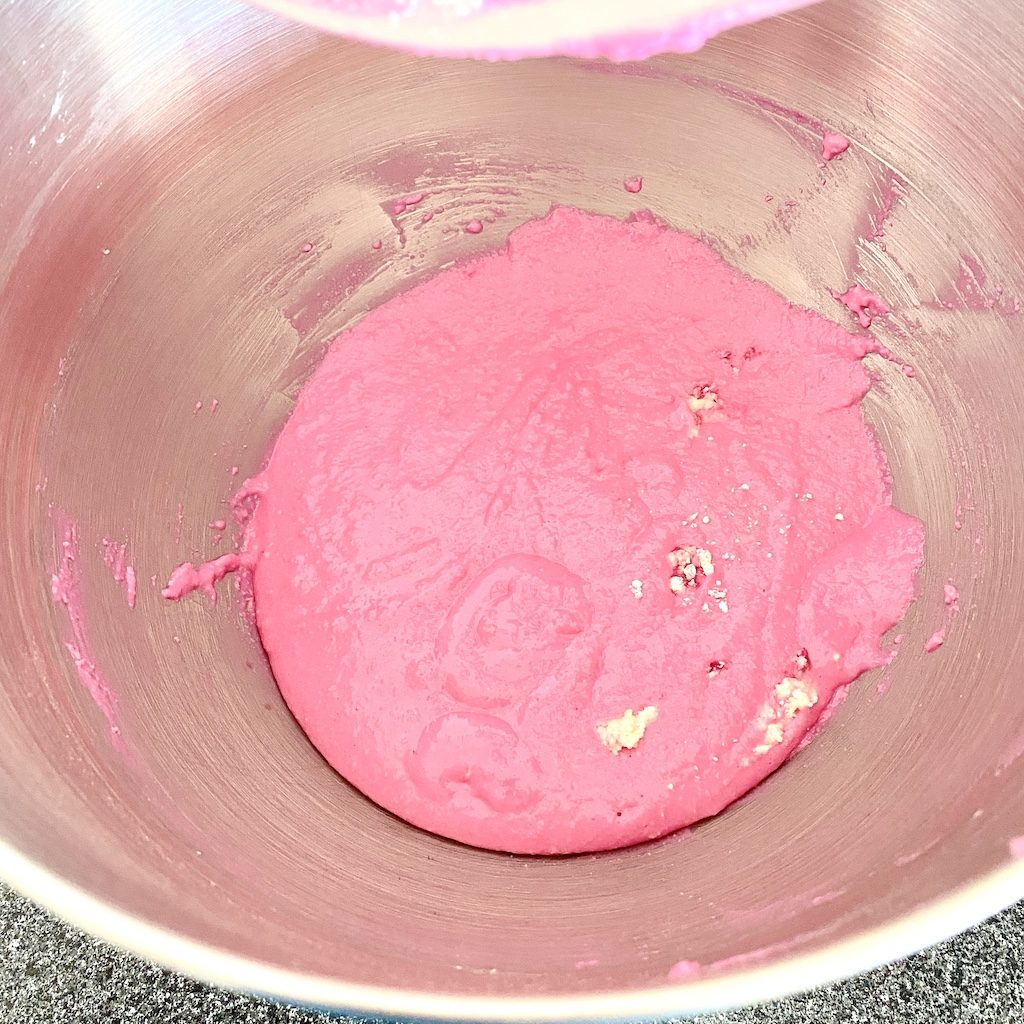
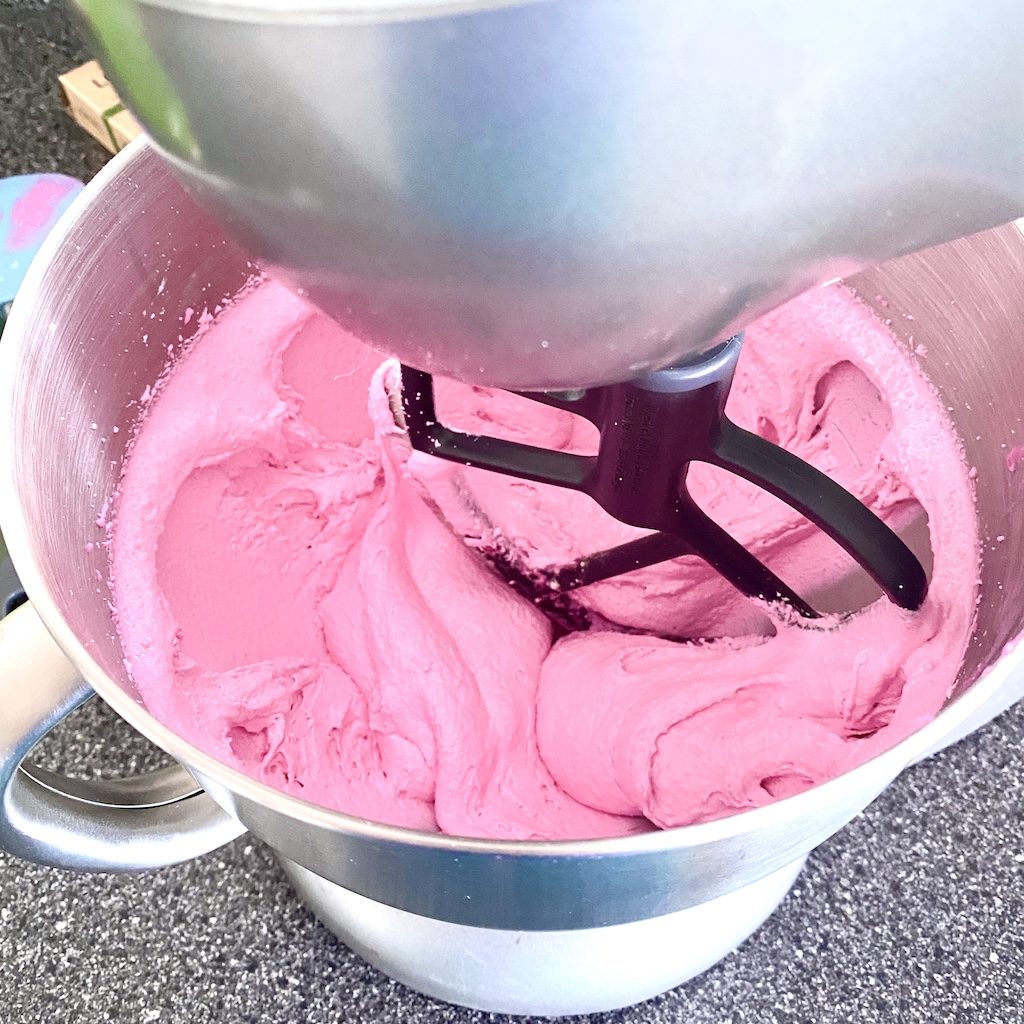
Mix it another 6 minutes on top speed. Half way through you will start seeing the change in the mixture, and it will start looking more like a normal macarons mix should.
Once you've mixed and aerated it for 6 minutes, you will have nice glossy macaron mix, ready for piping. The mix did look little bit thicker, then our usual, handmade macaron mix would look like. Other than that, it looked very much like, real deal.
Now when your macaron mix is ready, scoop it out, to your prepared piping bag. Make sure you use nice large pastry nozzle, for easy piping.
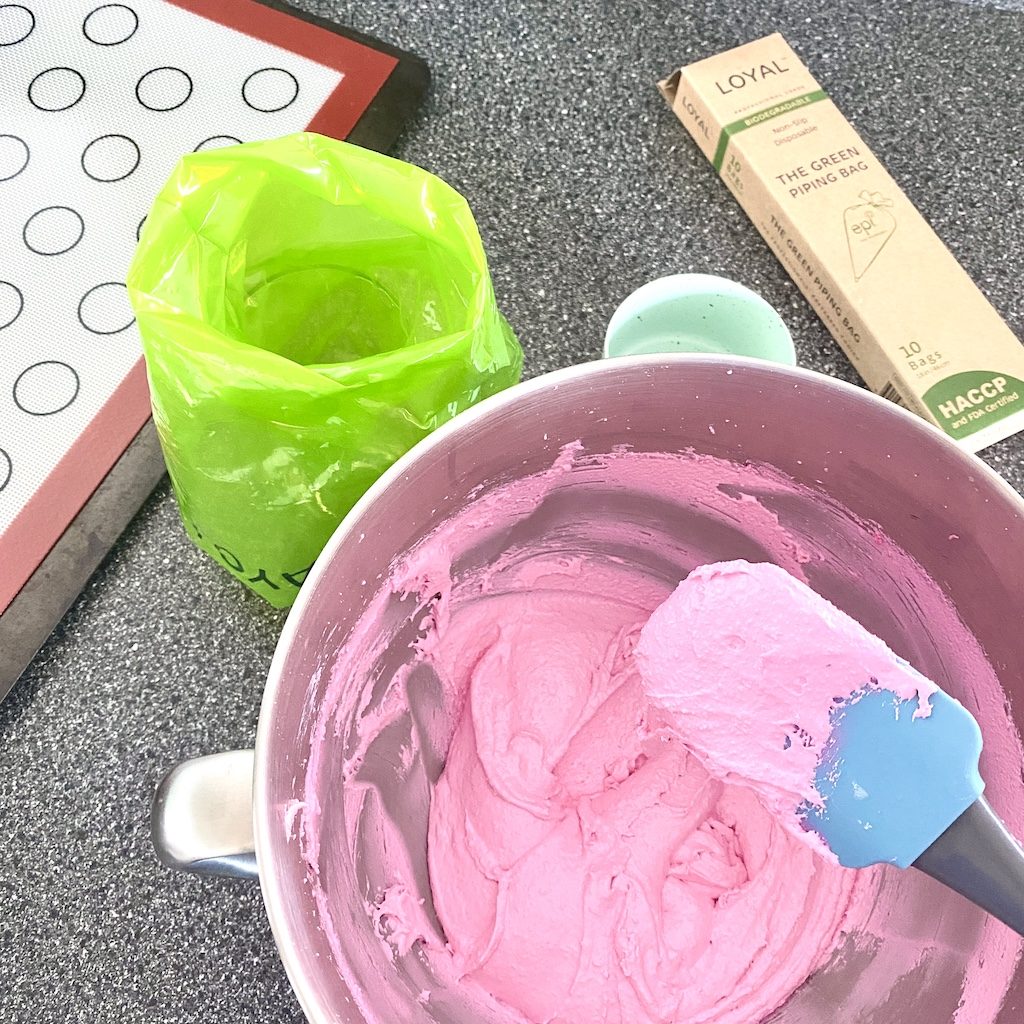
Make sure you don't overfill your piping bag, as it may be very hard to do your piping. You can always refill the bag, should you have some leftover macaron mix.
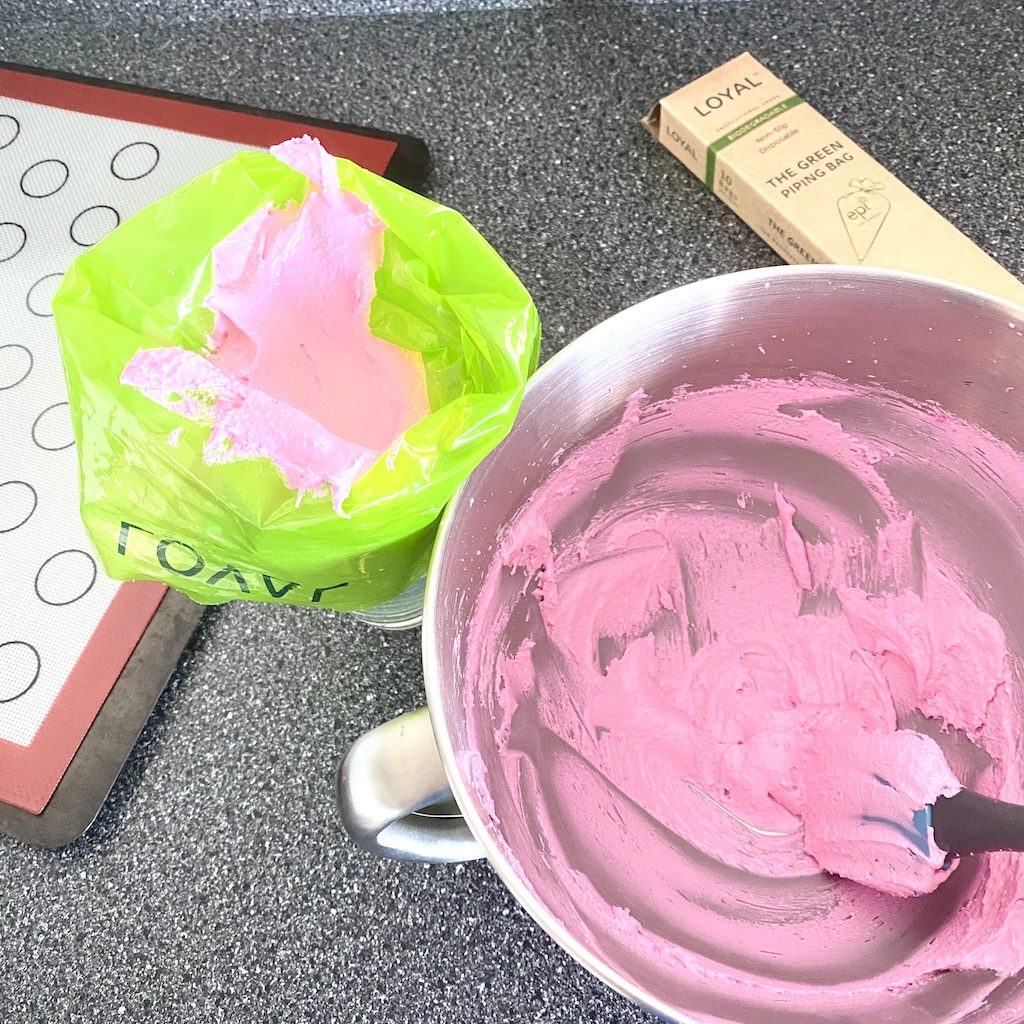
Have your cookie sheet or baking tray ready, lined with baking paper or a silicone baking mat. We chose to to use our silicone macaron baking mats, that have nice little guides on it, so all your macarons will be uniformly piped. This is not necessary, and you can easily use plain baking paper, but if you do struggle with even piping, it's definitely a huge help.
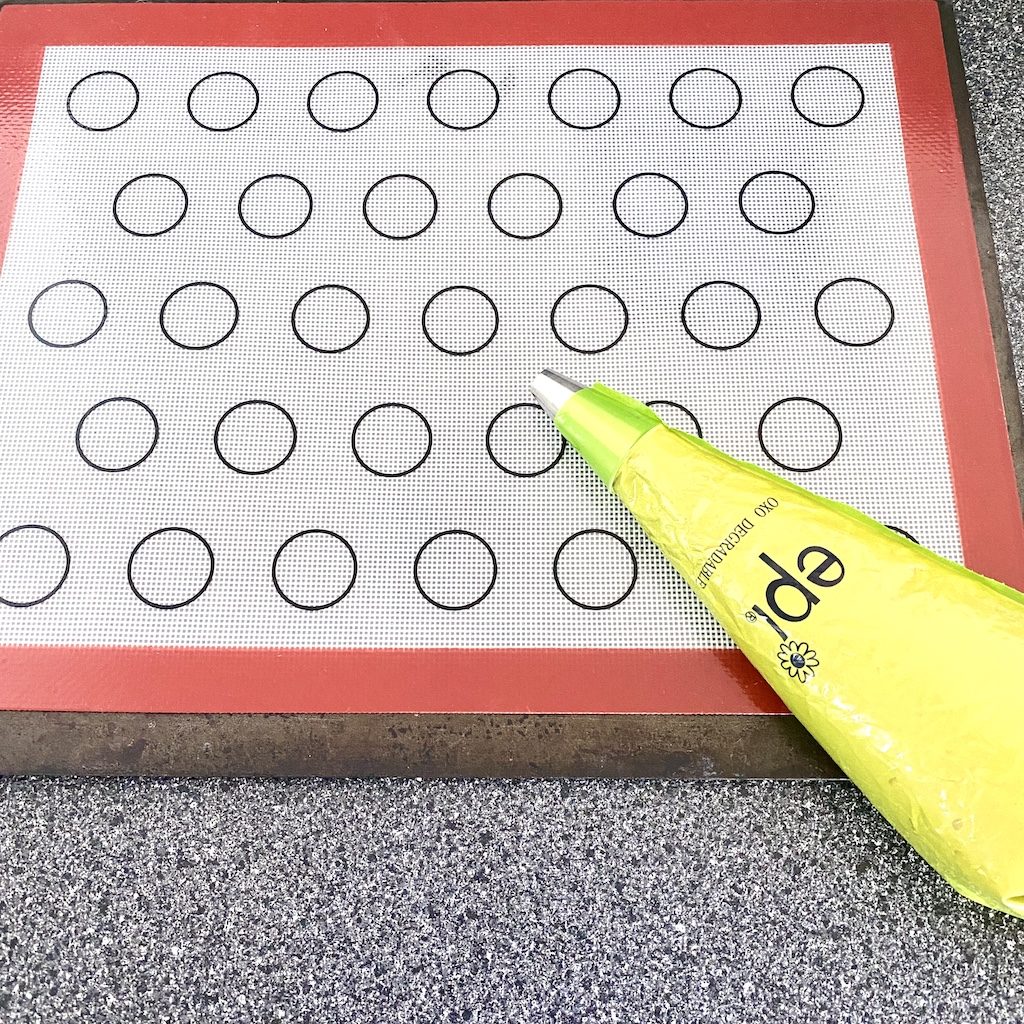
And off you go, pipe your macarons, as you would normally do, making sure you leave the space between them, so they can spread out.
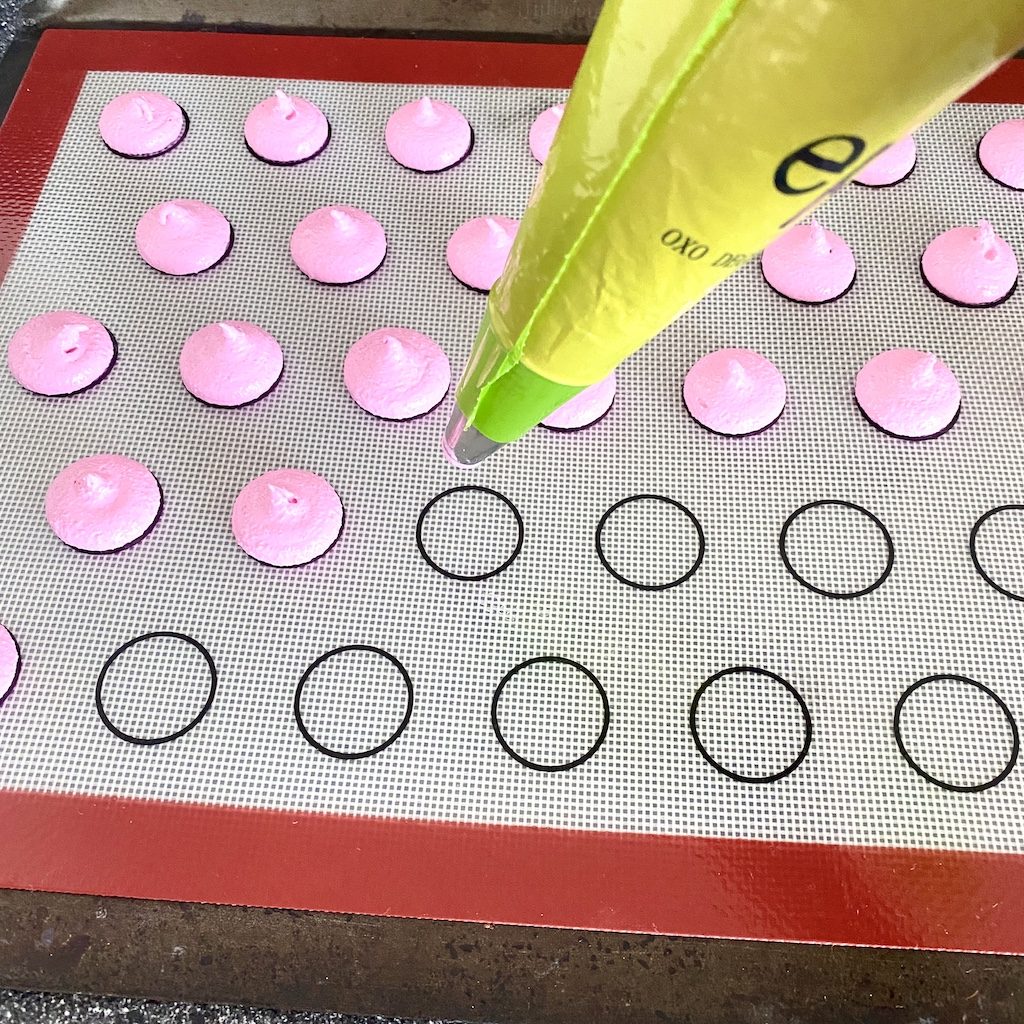
Once you've finished piping the macarons, leave the trays to rest for about 20 minutes. At this point, we realised that the mix is indeed much thicker than we are used to using.
There was hardly any spreading happening and the macarons stayed pretty much exactly the same size, as we piped them in. This was pretty much the point, where we gave up, it did not look promising at all. Knowing how temperamental macarons are, we didn't really expect to get good results after this point.
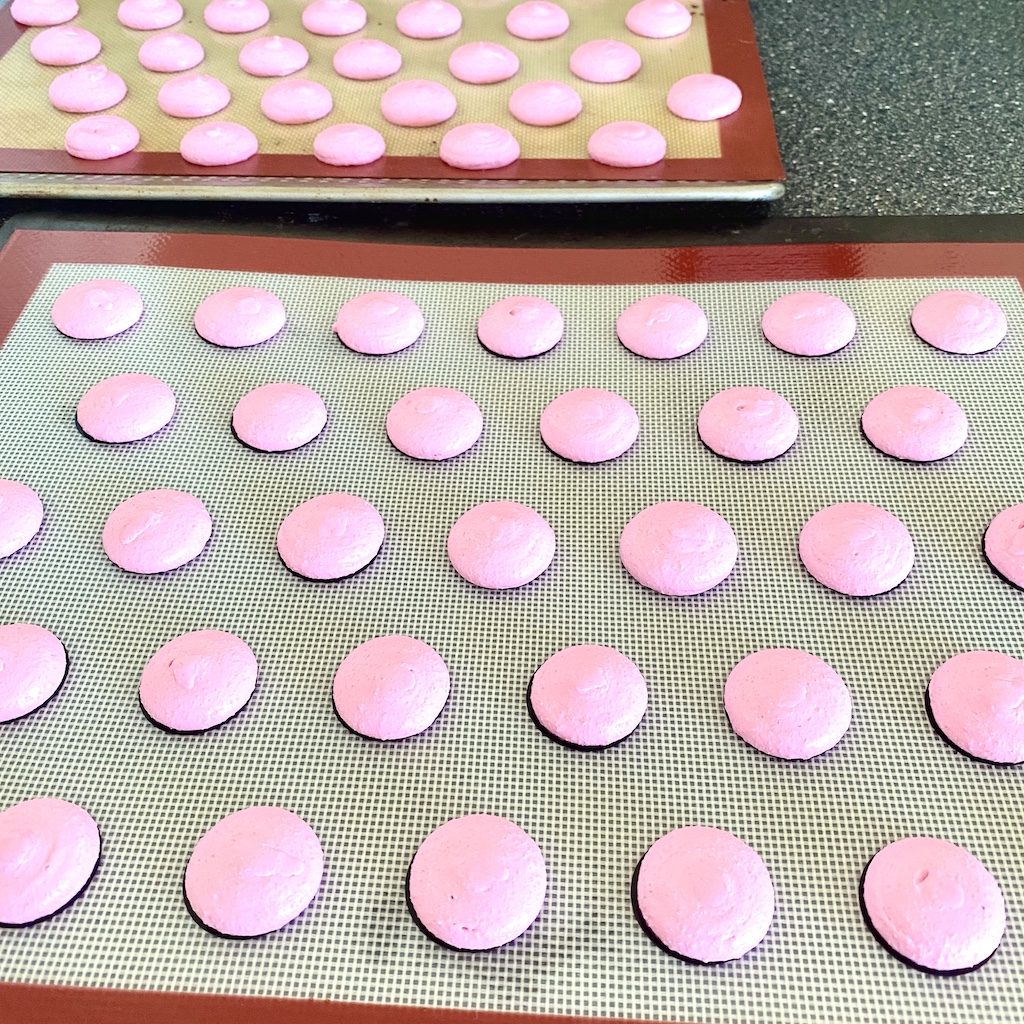
While your letting the macarons rest, preheat your oven to 160C-165C. Once the resting time is up, place the macarons in the oven and bake them for about 20-25 minutes.
We have a new oven, never used with any kind of macarons before, but we weren't really concerned either. As mentioned before, we were ready for the failure, so we popped them in the oven and just forgot all about them.....until we could smell them.....which was way before 25 minutes was over.
You can imagine our surprise, when we opened the oven, and found this.

Yes, we did burn our batch of macarons, the colours look horrible. But, 100% all of them, baked to be perfect. No lopsided, cracked or hollow shells. Absolutely each and every macaron shell, came out with perfect little feet, and overall exceptional looking (mind the colour).
Wow mind-blown!! Cause making them, was the easiest and least stressful macaron making ever.
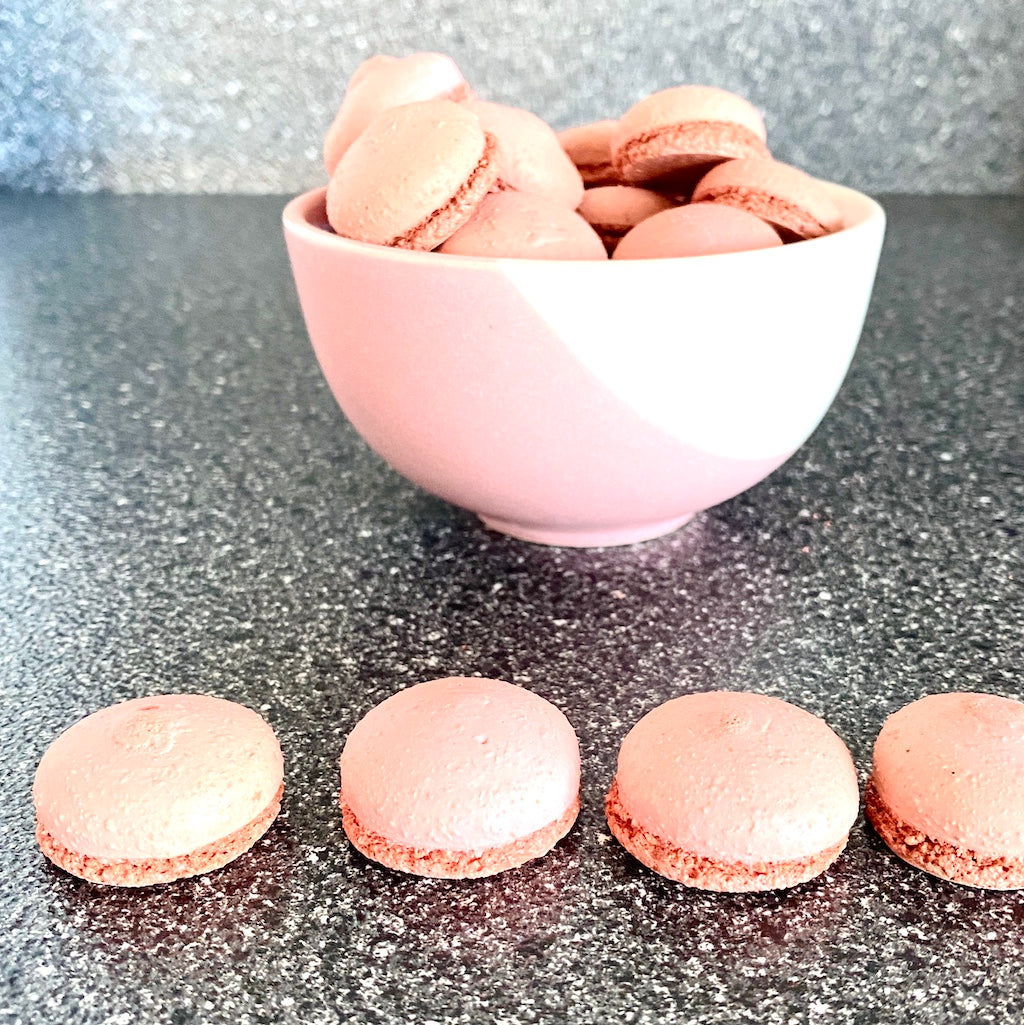
Most of the shells were still in pretty decent condition. Not exactly burnt, but just over done and crunchy., so we decided to still fill them and do some taste testing as well.
Lot of the professionals actually prefer to slightly overcook their macarons. Why? Once macarons are overcooked, they get very crunchy and loose their soft centres. But, when you fill them with a ganache, buttercream or any kind filling, the moisture from the filling will soften the shells up again.
So when you make your macarons well ahead, by the time you consume them, they have transformed into perfect little treats.
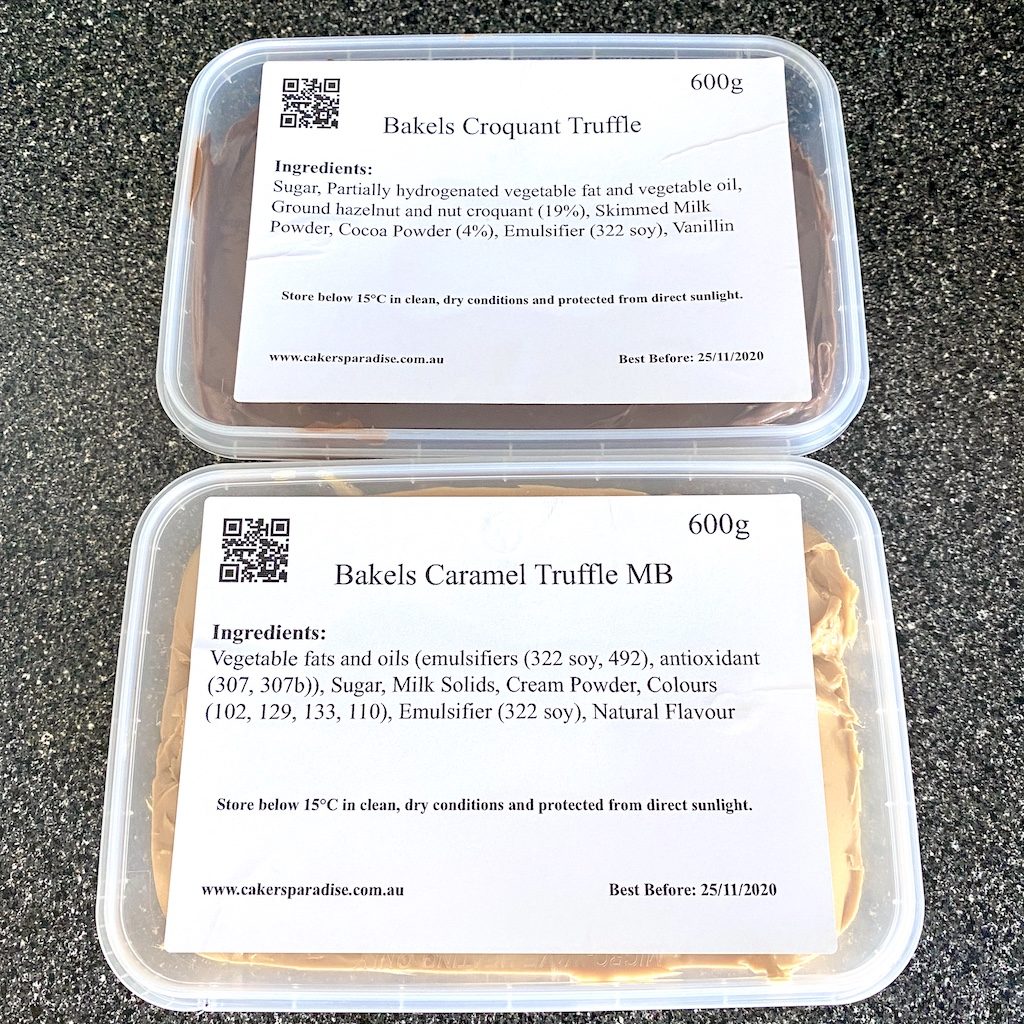
We chose to fill our macarons with Bakels ready made truffle. Bakels truffle is just a fancy name for the chocolate ganache. It comes in 12 different colours and in 6 different flavours. We wanted to try 2 different flavours. Croquant which is Ferrero Rocher filling, and caramel. Both turned out to be super yummy!!
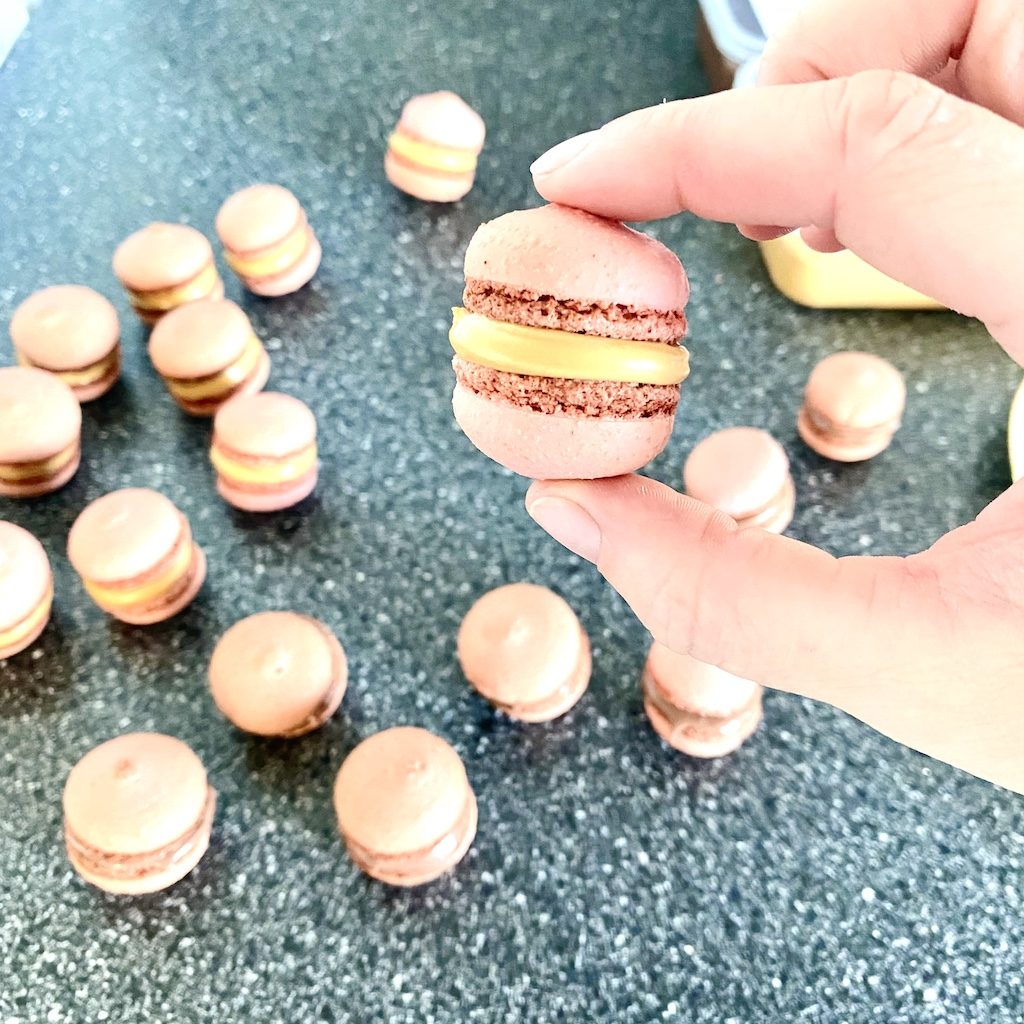
And here they are, perfect little macarons, that were so super easy to make, that we have to repeat the process soon, do redeem ourselves, and get the colours nice as well.
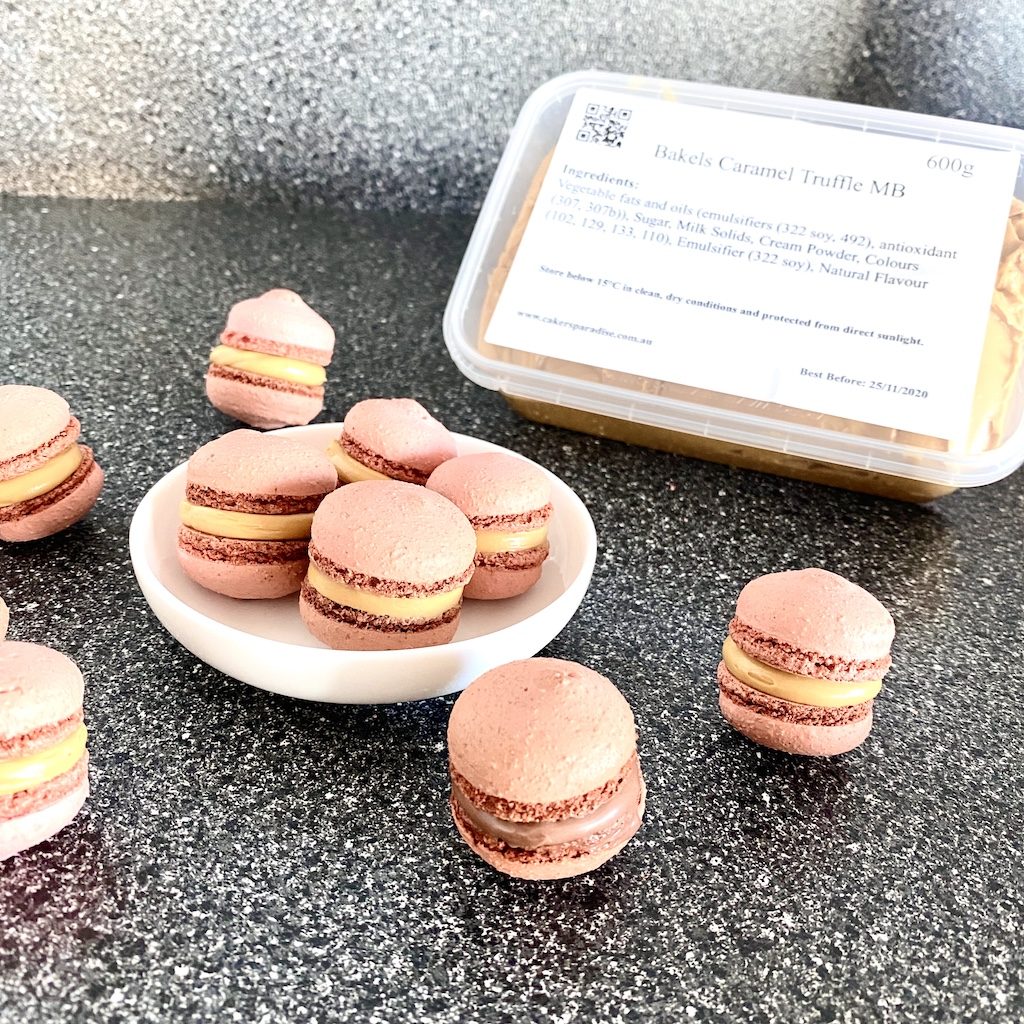
So overall, we are very pleased with the results. Bakels macaron mix is definitely a huge help for anybody who has been struggling in the past to get the perfect macarons.
Since our little test and failure with the baking, we have had a chat with many of the other bakers, that have used the mix themselves. They all had one piece of advise to give us.
Make sure, you get your oven settings right, and do not walk away and forget them in the oven. They may need much less temperature and time, then advised by Bakels. But once you solve this little problem, and figure out your oven you're pretty much set for a life, as everyone agreed that they haven't had a bad patch with the Bakels macaron mix.

