What are Cookie Stamps and Fondant Debossers? Free Tutorial on How to Use Them
Looking back at this year so far, we were pretty sure that the 2020 Grinch, was on its way to steal Christmas! Luckily, if there’s one thing you can depend on, it’s the joy of cookies!
Embossed fondant covered cookies are currently taking over the social media in a big way. Cookie stamps…fondant debossers…reverse embossers - who’s the boss?!
What exactly is an embossed cookie?
Allow me to explain, and take you on a whole new cookie adventure!
Embossed fondant covered cookies are the quick-finish solution, to time-consuming (and let’s face it, pretty tricky) royal icing flooded biscuits.
Instead of having to wait for hours for outlines to dry, or to have the steadiest hands on the planet, to do any legible writing, you can now simply stamp your message or design onto a fondant and stick it onto a sugar cookie!
Wait…what? Yes, dear Cakers, I did not forget a step, that’s how simple it is! Plus, you can quickly replicate the design for a whole range of cookies, saving you hours of painstaking hand piping and sleepless nights worrying about how you’ll finish that batch in time.

We have a terrific range of fondant embossers for every occasion or special event. Many of the cookie embossers are sold in a combination pack that include both the cookie cutter and the fondant embosser as well. This provides you with endless possibilities – from Valentine’s Day to Cartoon Characters.
OK, you know what a cookie stamp is now, but what is a fondant debosser then? Well, where a cookie embosser will leave an imprint into your fondant, the debosser will provide a 3D pop-out design. You can either use it as is, or give it a touch of colour with the edible food colour of your choice, for a contrasting finish.

And the fun doesn’t need to stop there! We have an extensive range of edible sprinkles to literally be the cherry on top, to even the simplest sugar cookie.
Below we have couple quick tutorials, on how to easily decorate cookies with fondant and cookie embossers.
Let’s get started! You will need:
- Baked cookies of your choice, we suggest vanilla sugar cookies
- A single or a range of fondant embossers and debossers
- The same cookie cutter that you used to cut out your cookies
- Sugar craft edible glue
- Set of brushes
- A metal angled spatula
- Rolling pin
- Fondant, colour of your choice
- Fondant smoother
- Edible food colour and edible glitter of choice
- Rose spirit
- Edible sprinkles of your choice
First, gently dust your kitchen countertop with a little bit of corn starch to make sure the fondant doesn’t stick while you’re working with it.
Roll the fondant out evenly, about 2-3mm thick. If you want to make sure you keep the thickness consistent, we’d strongly recommend you use the Perfect Height Rolling pin that has two choices of height guides on the sides. These guides can easily be swapped to the thickness you prefer. You can also give it a final smooth-over with a fondant smoother to make sure there are absolutely no bumps or fingerprints.
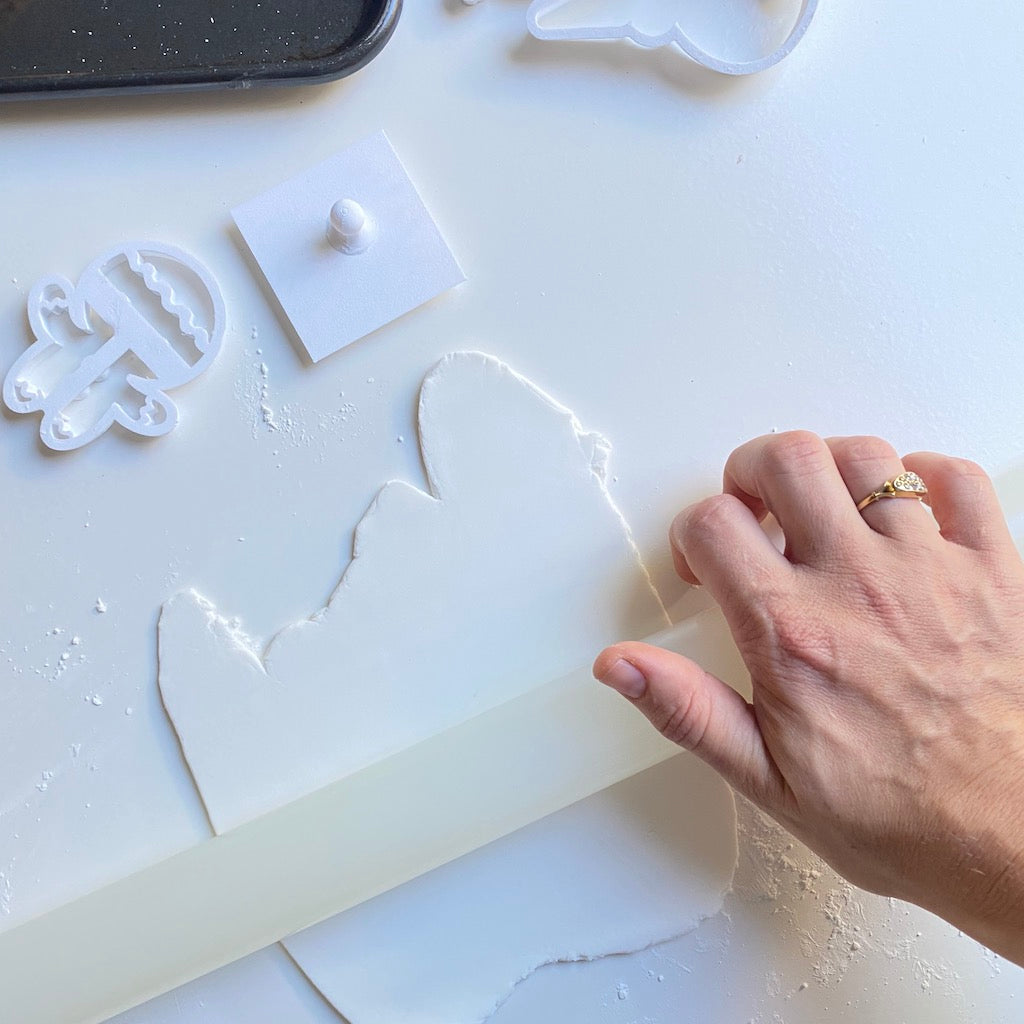
Now comes the fun p
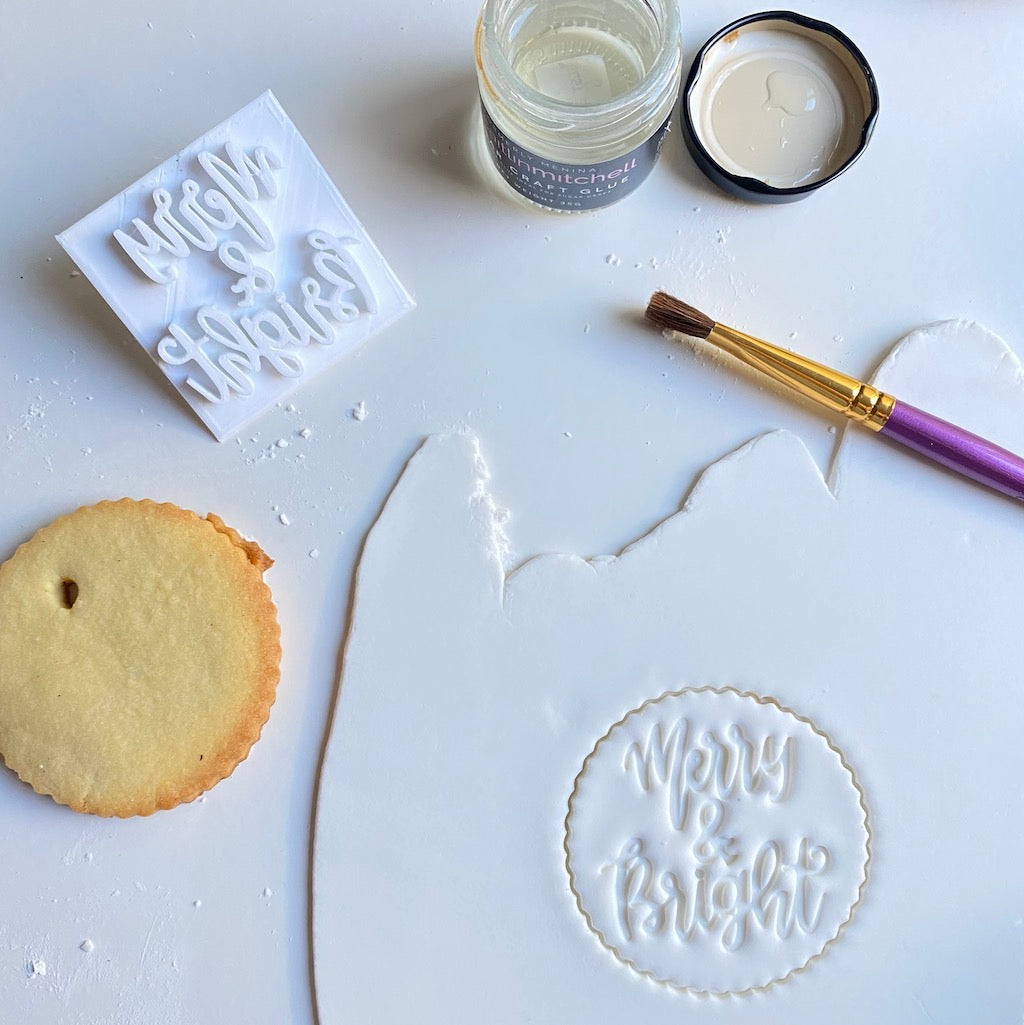
art! Using your chosen cookie embosser, gently but firmly press it down onto your prepared fondant, but make sure you stop before you press it all the way through.
It can be littlebit tricky at first, to know exactly how hard or gentle to press on cookie embosser. Some fondant embossers are designed in such a way, that the lettering will only leave a shallow imprint, but you will quickly get comfortable with the results that you require.
And the best part, if you’re not 100% happy with you print, you can simply scrunch up the fondant and roll it out again to start with a clean sheet!
Once you are done with the imprint, you now take the same cookie cutter as what you used for your cookies, and cut out your fondant shape, making sure you have nice clean edges. The embossed motif doesn’t need to be in the centre, have fun with your design and let your creativity have free reign!
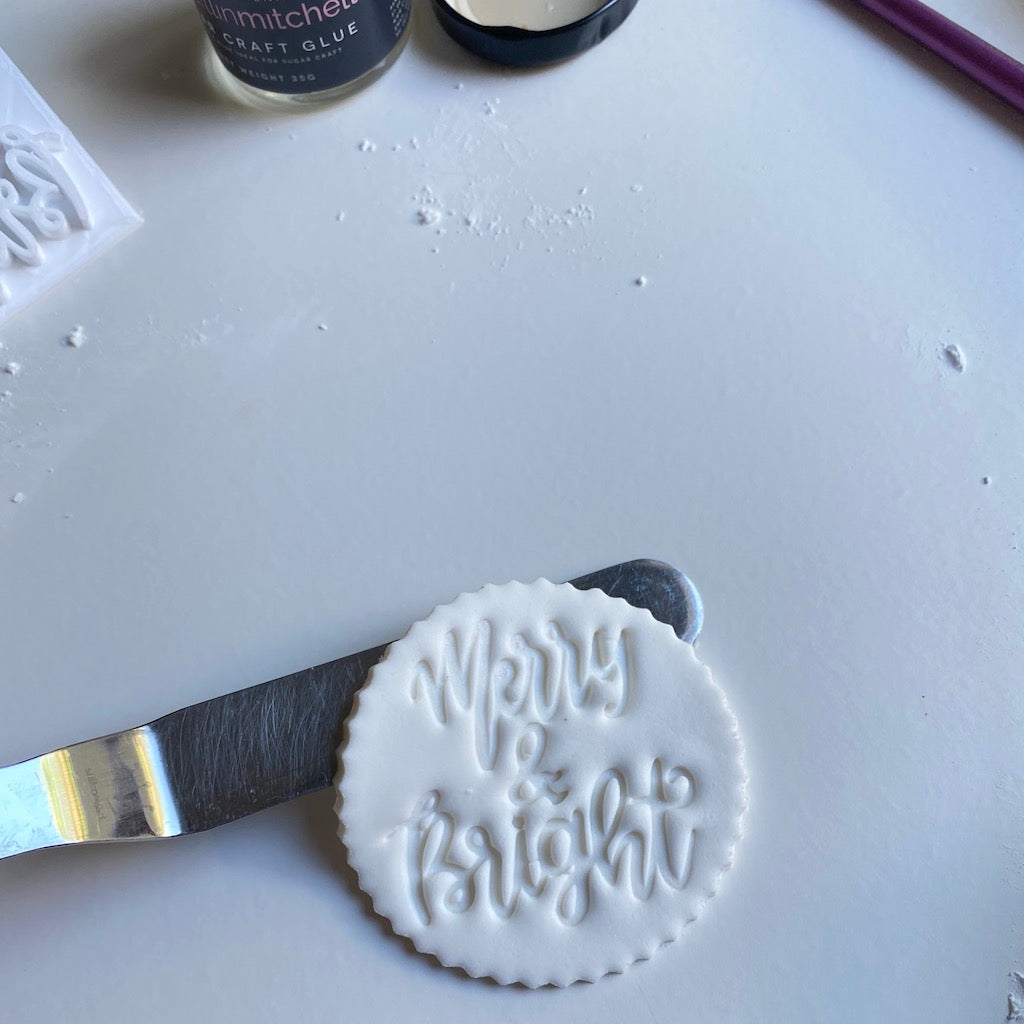
Now for assembly. While holding the cookie in one hand, gently brush on a thin layer of sugar paste edible glue. Gently lift the embossed disk with a metal spatula and place it on the cookie with the embossed side facing you.
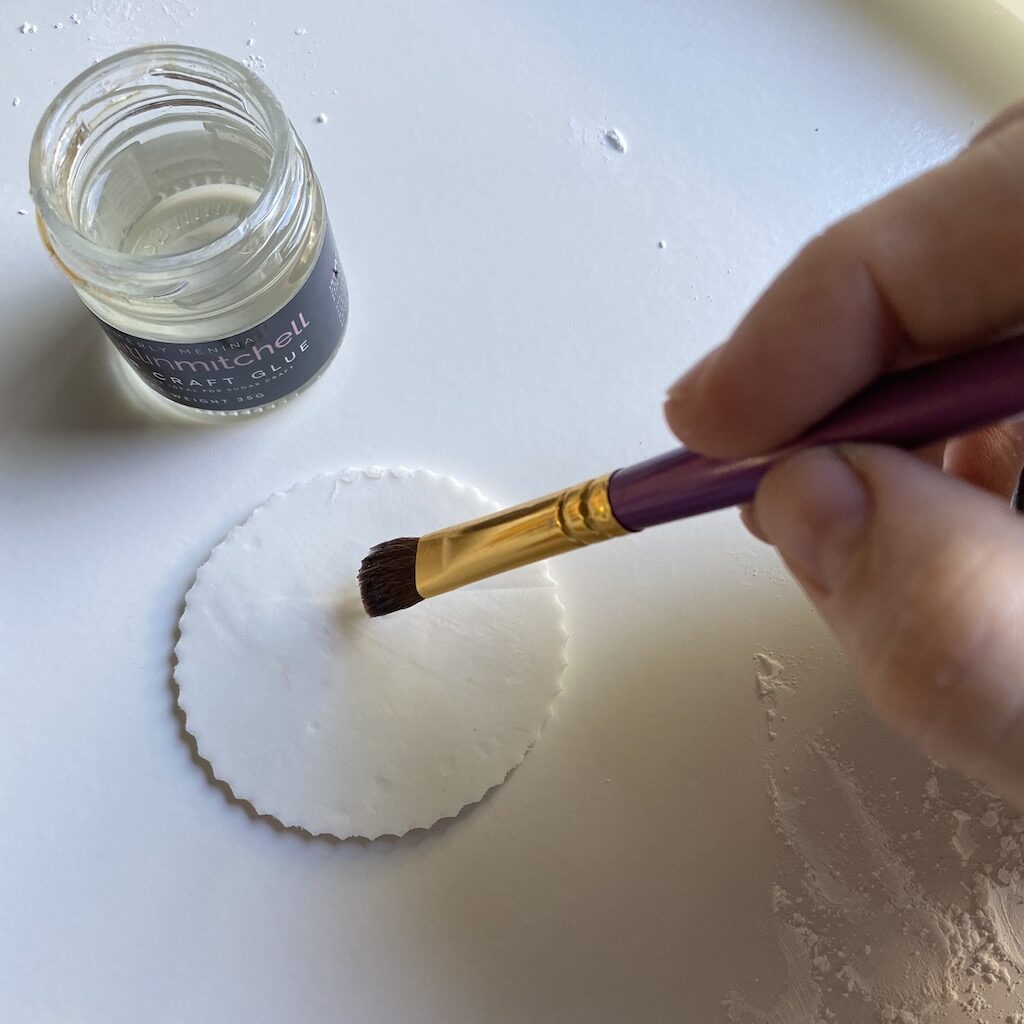
Please resist the urge to press it down with your hand or fingers! After all your hard work, you really don’t want to leave your fingerprints on your work of art! Rather use the fondant smoother to give it a light press to ensure it’s secure, before you leave it a while to dry.
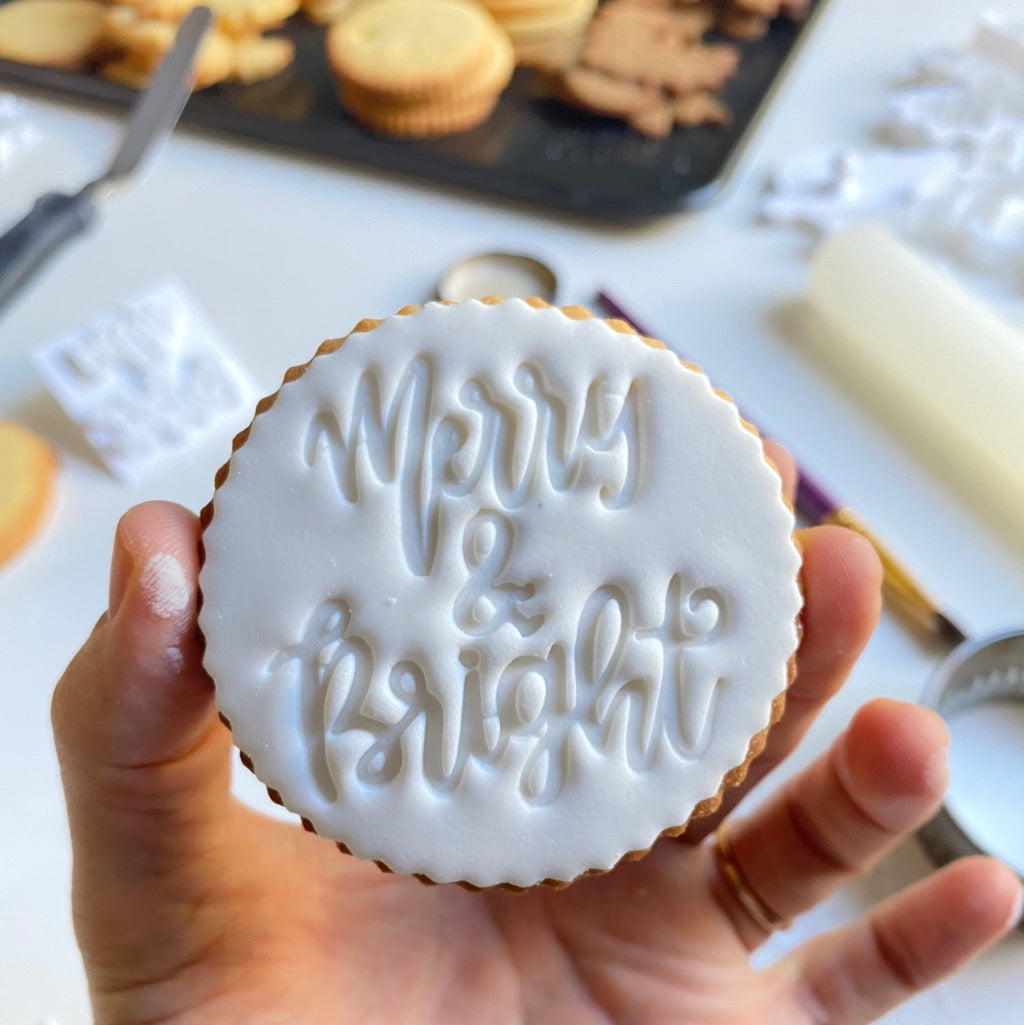
Personally, the next step is my favourite part – decorating! Options are endless, and you can let your imagination run wild on this step.
In a small container, mix a little bit of edible gold lustre dust with just enough rose spirit to form a runny paste. Using the smallest paint brush, dip it in the gold paste you just made, and use the indent to guide you along the ridges so you stay along the letter lines.
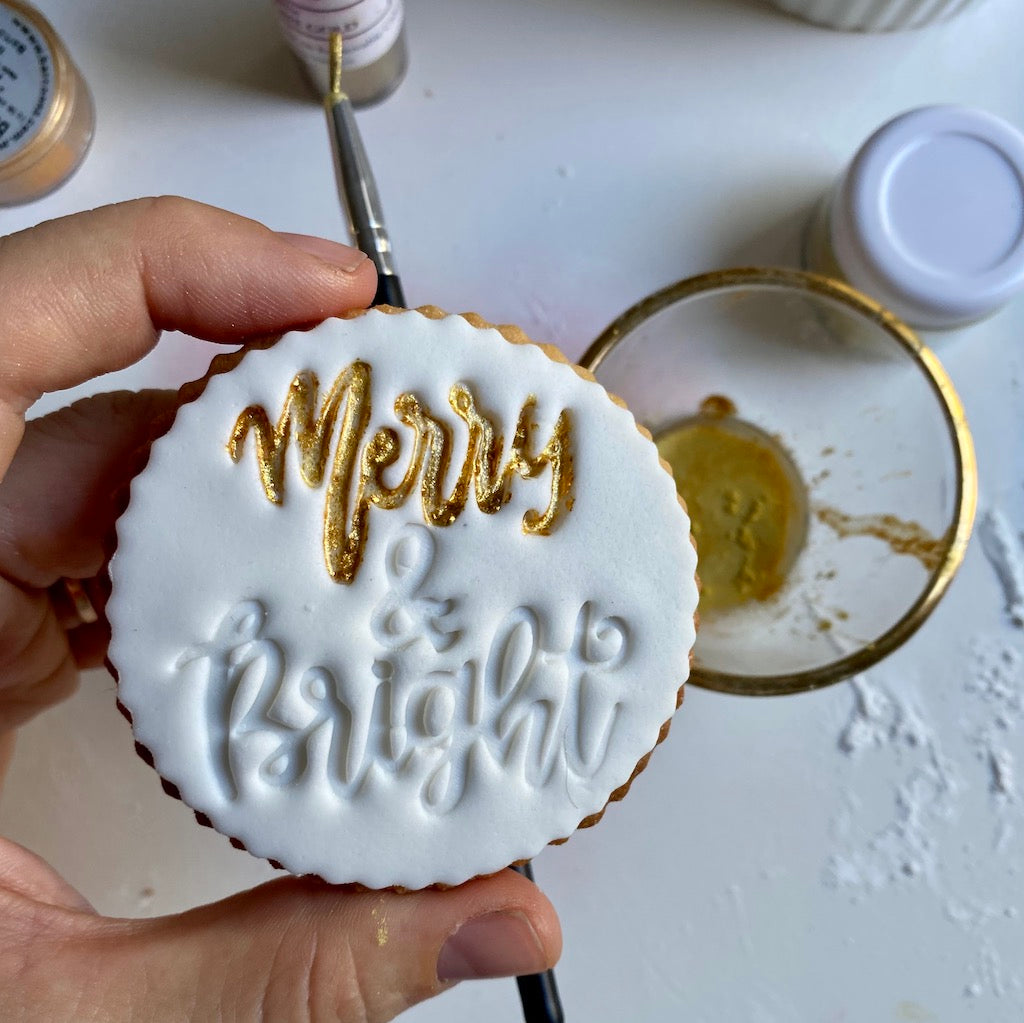
Voila!! Perfect little sugar cookie, covered with fondant end embossed with our Christmas fondant embosser.

Our 3D cookie cutter and fondant embosser sets are equally as simple to use – just cut, emboss and paint! You can use the cookie cutter for the cookies, as well as for fondant, to get the matching shape.
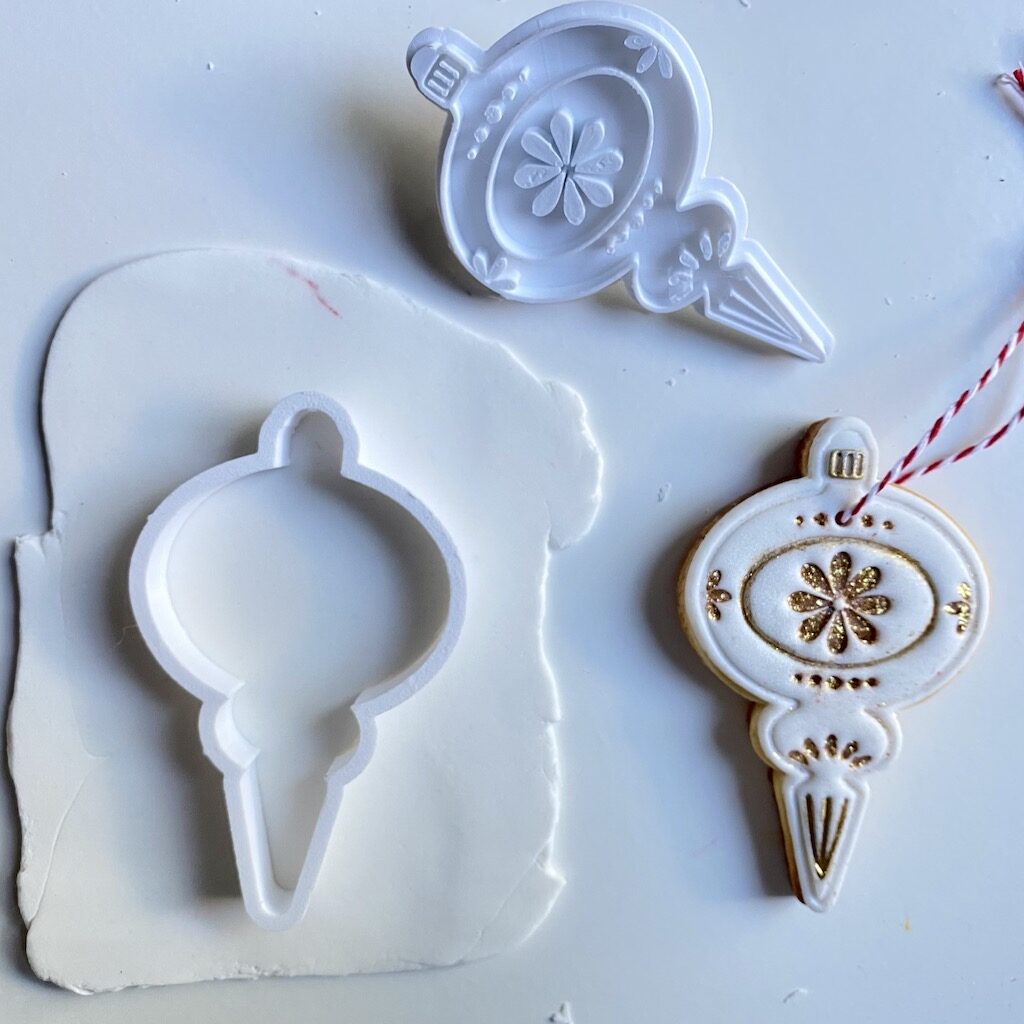
But why not combine two trends in one? We’ve got a super simple step-by-step guide for marbled fondant cookies that you can also use as Christmas-tree decorations!
These simple three steps will provide you with not only beautiful, but edible decorations, that make wonderful gifts and are a great activity for your kids.
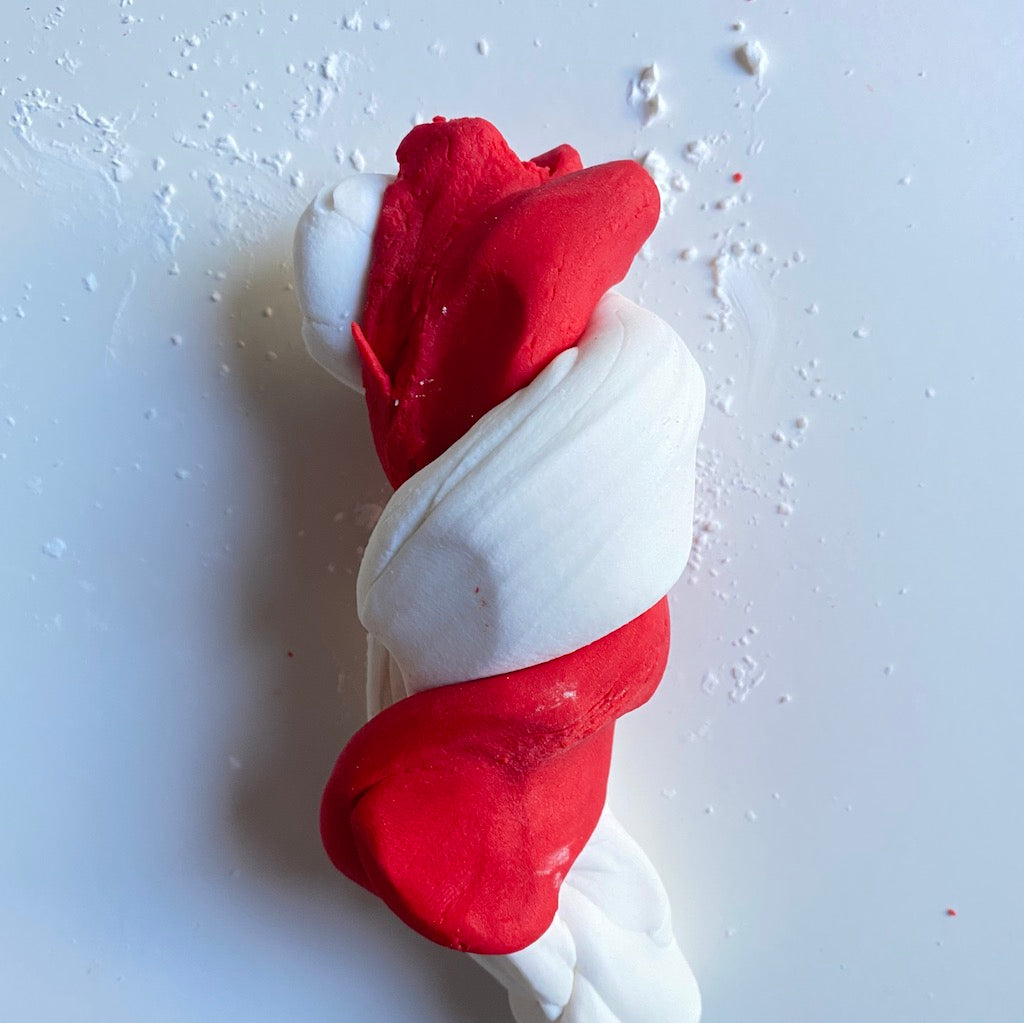
Roll two (or more) fondant colours into long sausages and then twist them together.
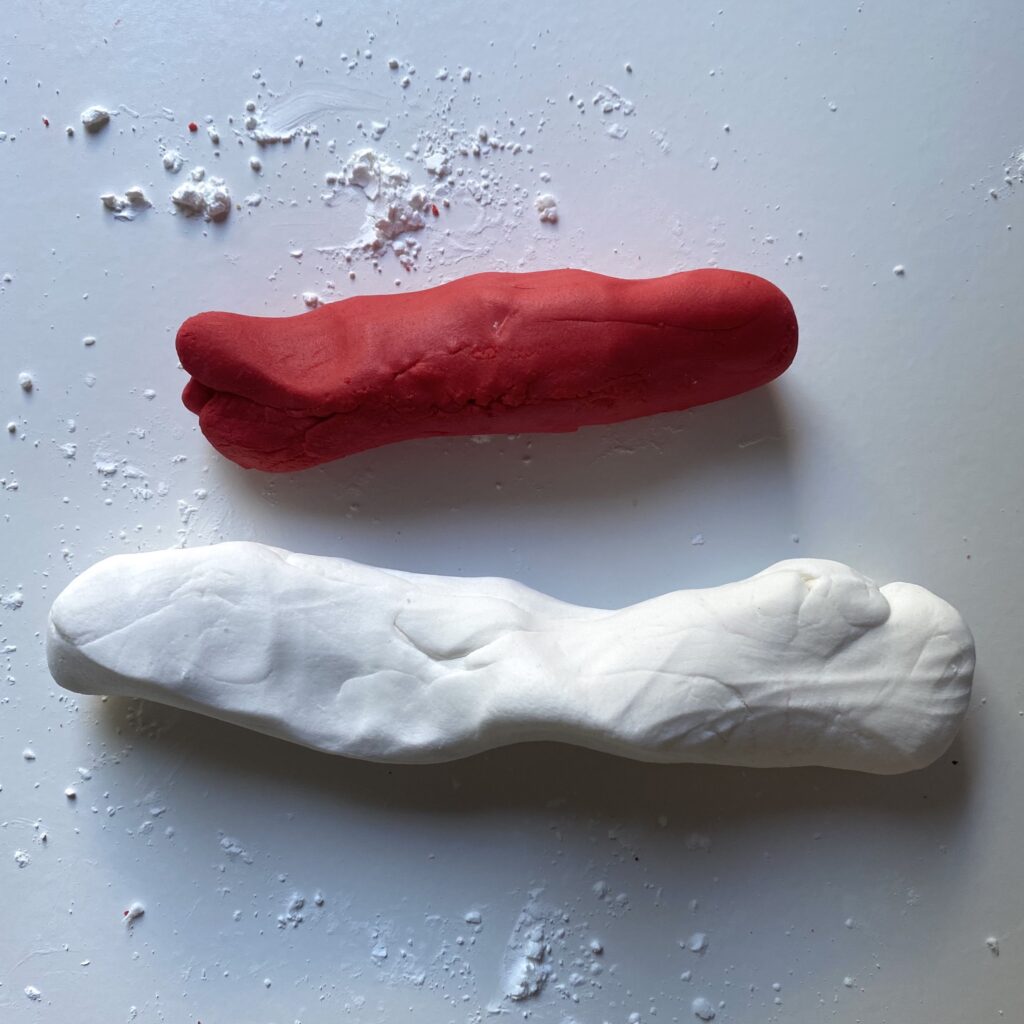
Pull and fold the fondant a few times so that the colours are slightly mixed but not fully incorporated.
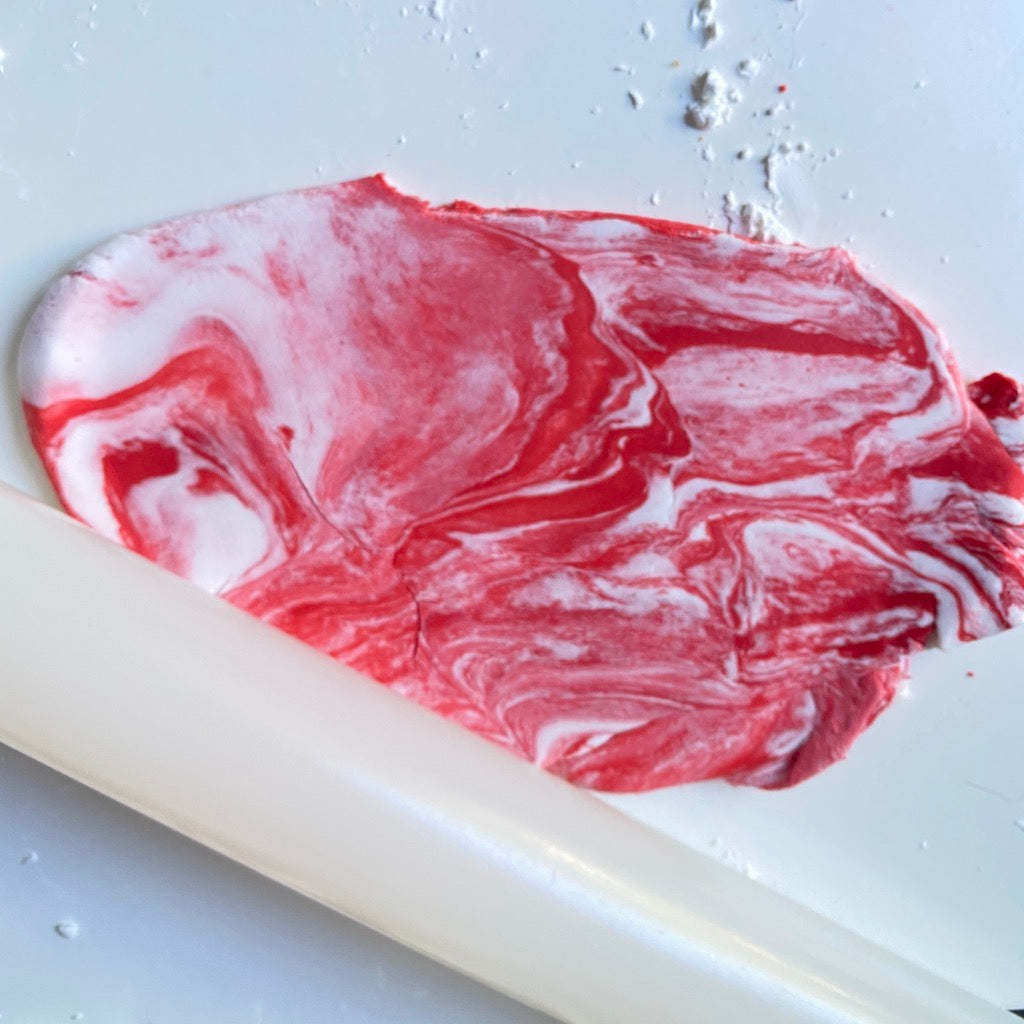
Using a rolling pin, roll out the fondant again, 2-3mm thick.
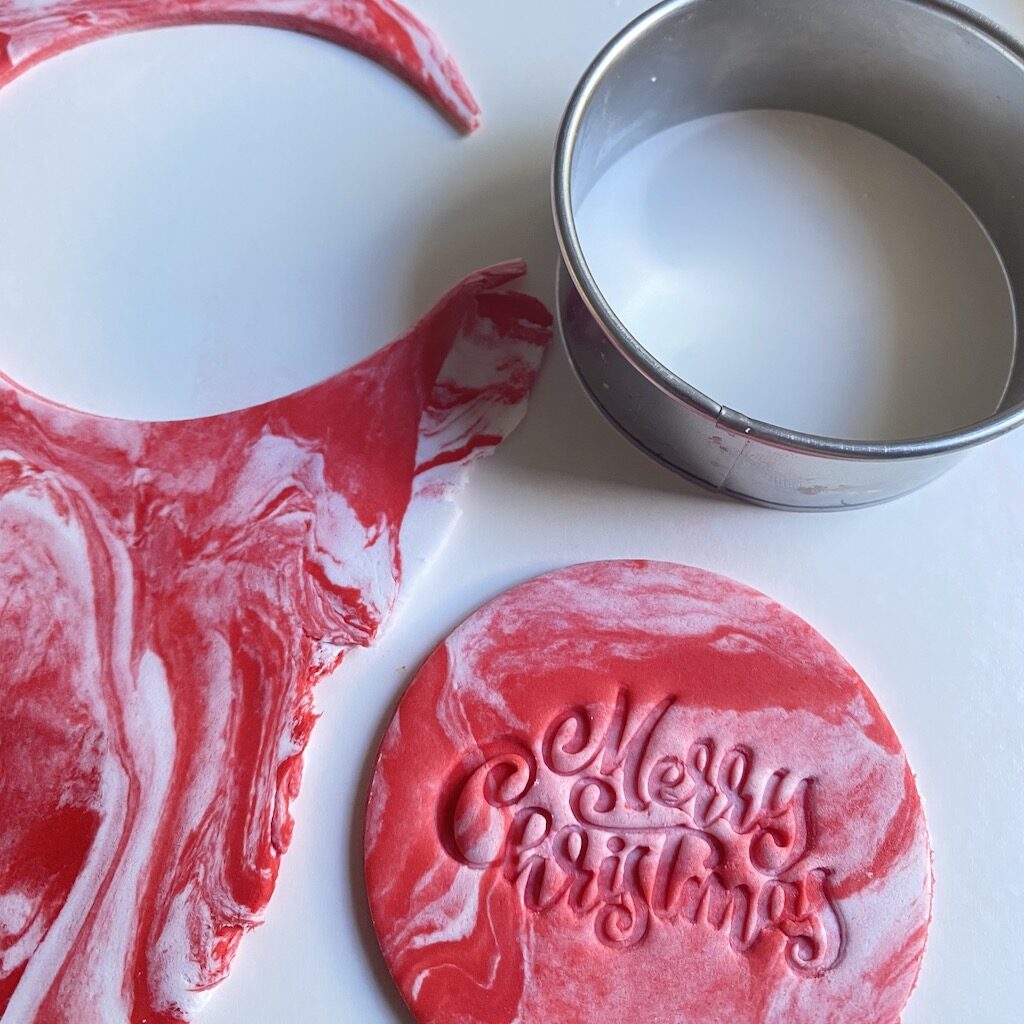
Emboss first with your chosen cookie embosser and then cut out with the same cookie cutter as what you used for your sugar cookies.
Using the same process as above, brush the sugar cookie with a light layer of edible sugar glue, gently lift the disk with a metal spatula and place on top of the cookie.
Finish with gold lustre dust paste or edible food colour.

It is important to remember that if you want to be able to attach a string to the cookie, you need to press a hole through it before baking, as the cookie will be too hard once it’s cooled.
There is absolutely no rule though that says, all Christmas Cookies should be red, white and green!
Let’s face it, our summer holidays are more swimsuits than snowmen? So, while we’ll all be on beach vacations, why not change things up a bit, and go with a fresh nautical palette?
Equally as much fun to make than marbled cookies, and equally as simple as well.
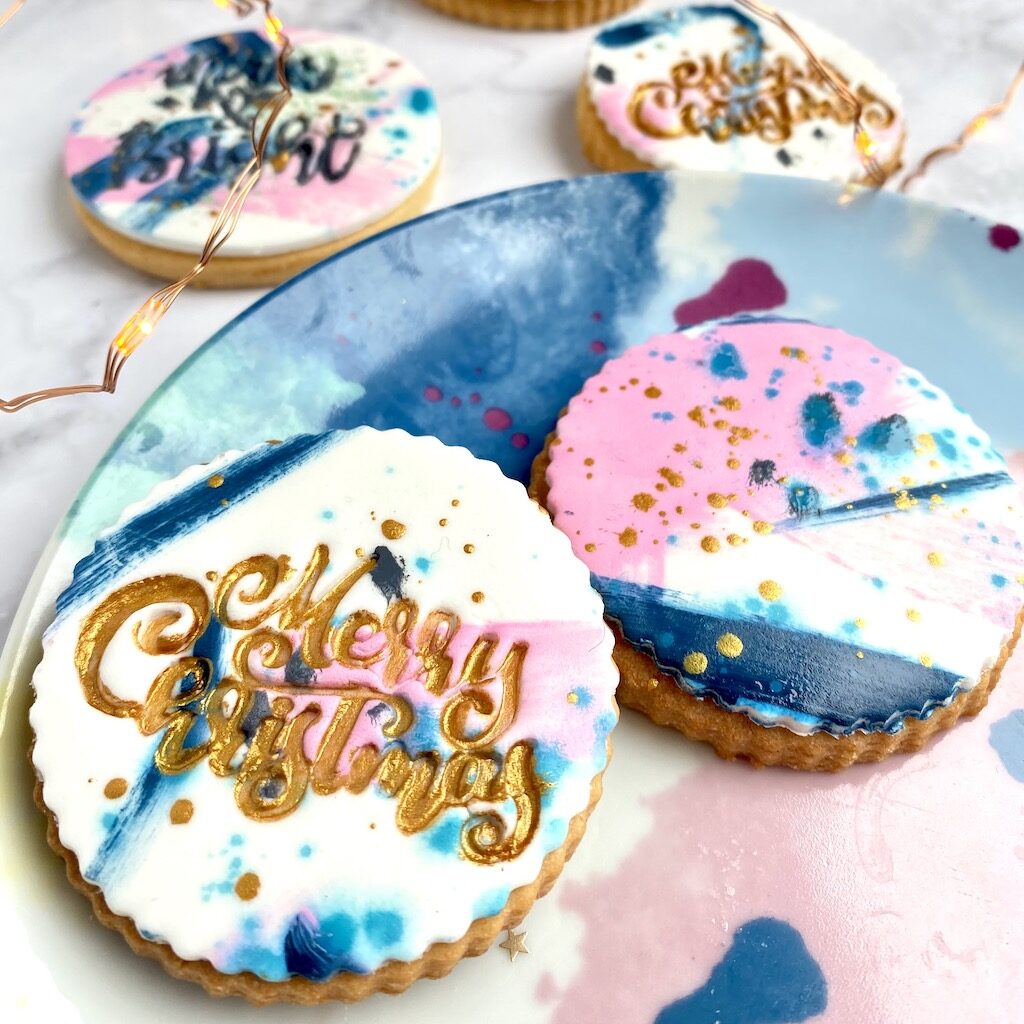
I had so much fun with the Colour Mill range, using their Candy, Navy and Concrete colours with a dash of Teal and edible gold lustre dust from Creative Cake Decorating!
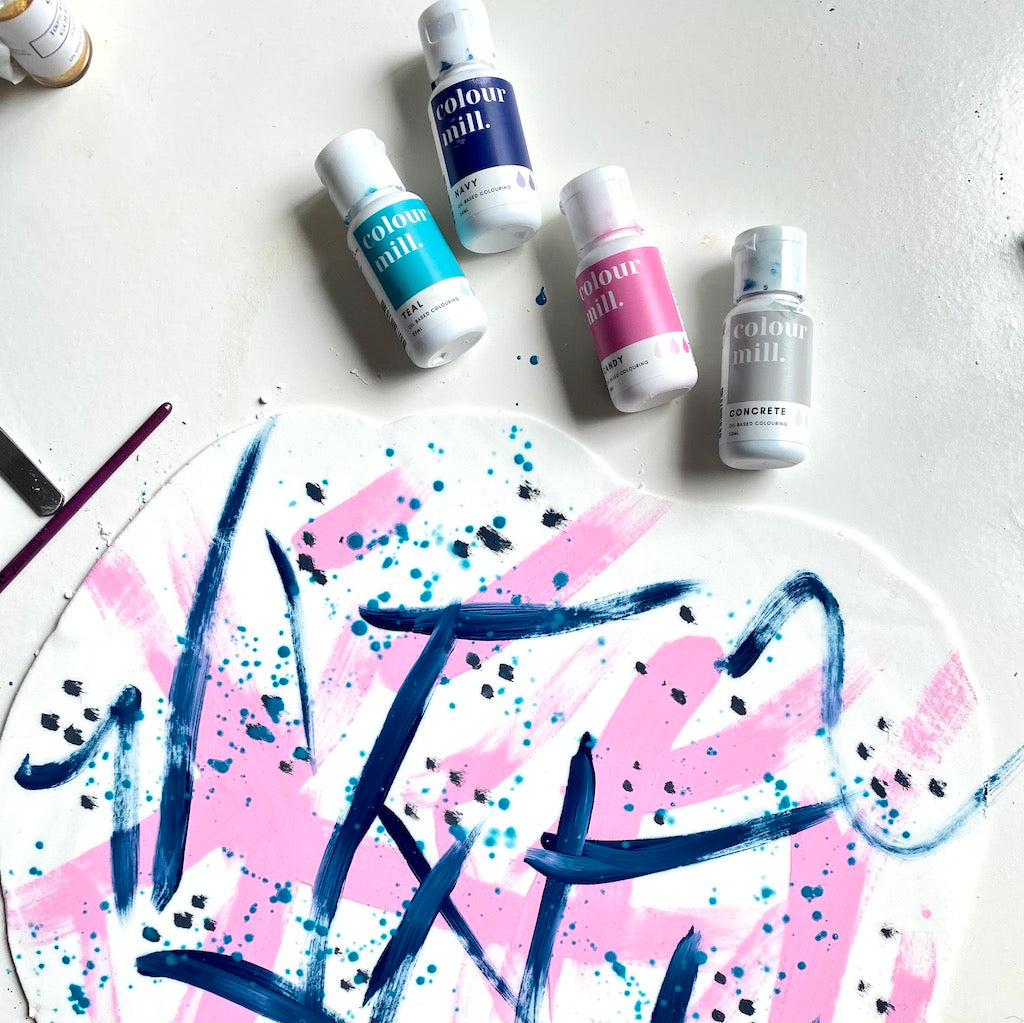
First, roll out a sheet of white fondant, which will be your canvas. Then, using a range of different sized paint brush strokes, cover the area with your abstract design.
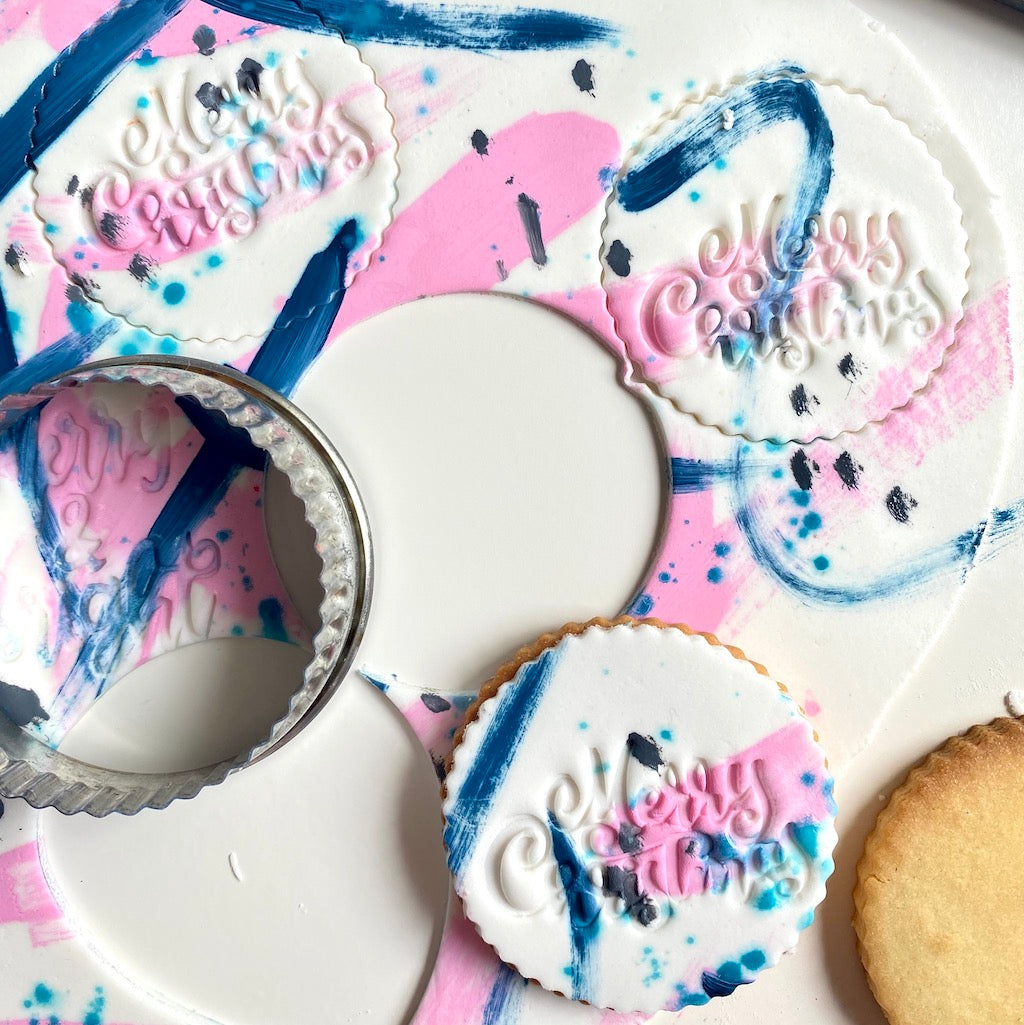
Simply follow the same steps again for the embossing: emboss, cut out shape with cookie cutter and adhere to sugar cookie using edible glue.
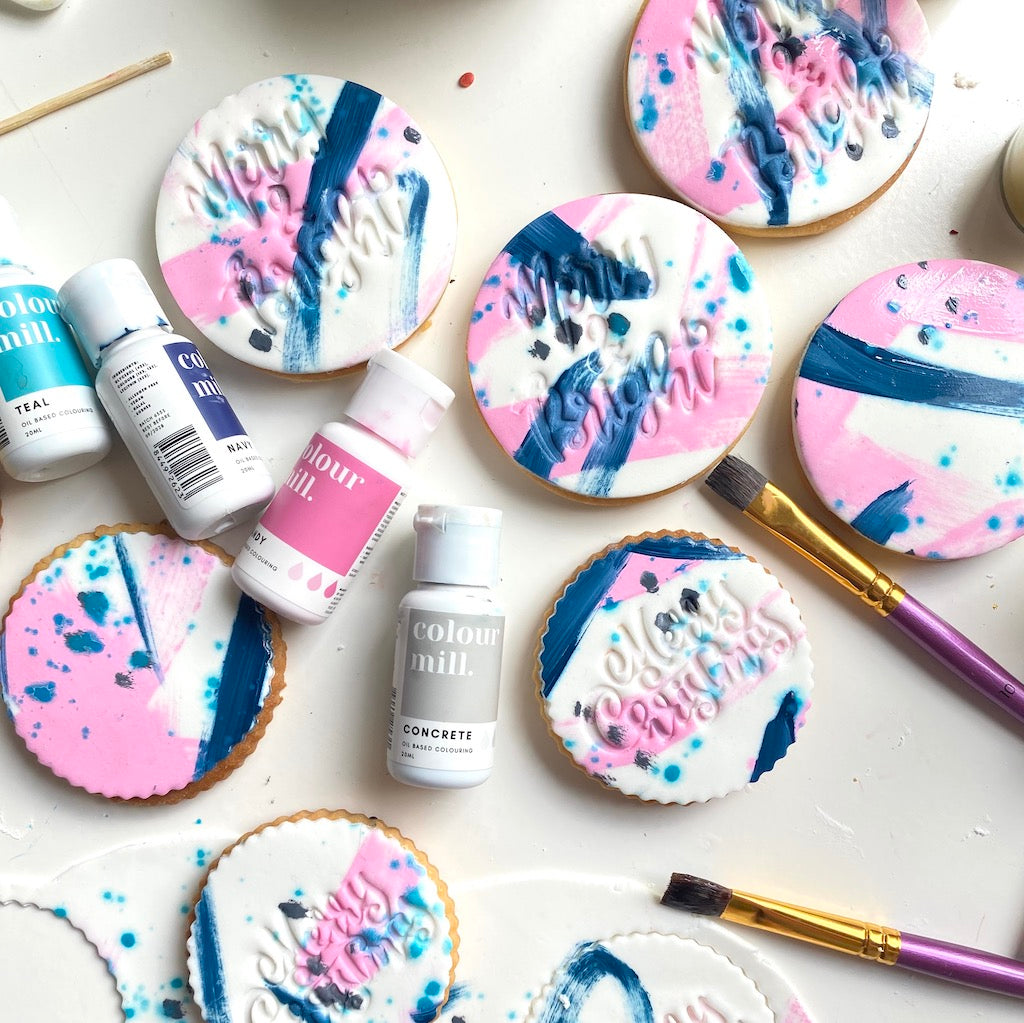
With so many colours available to you, I think it’s high time we stop dreaming of (just) a white Christmas!
So there you go, by now, you’ve made your own perfect fondant covered cookies, and have learned how to use our fondant embossers. Plus, you have these great edible Christmas tree decorations, that you can give away as a gift.
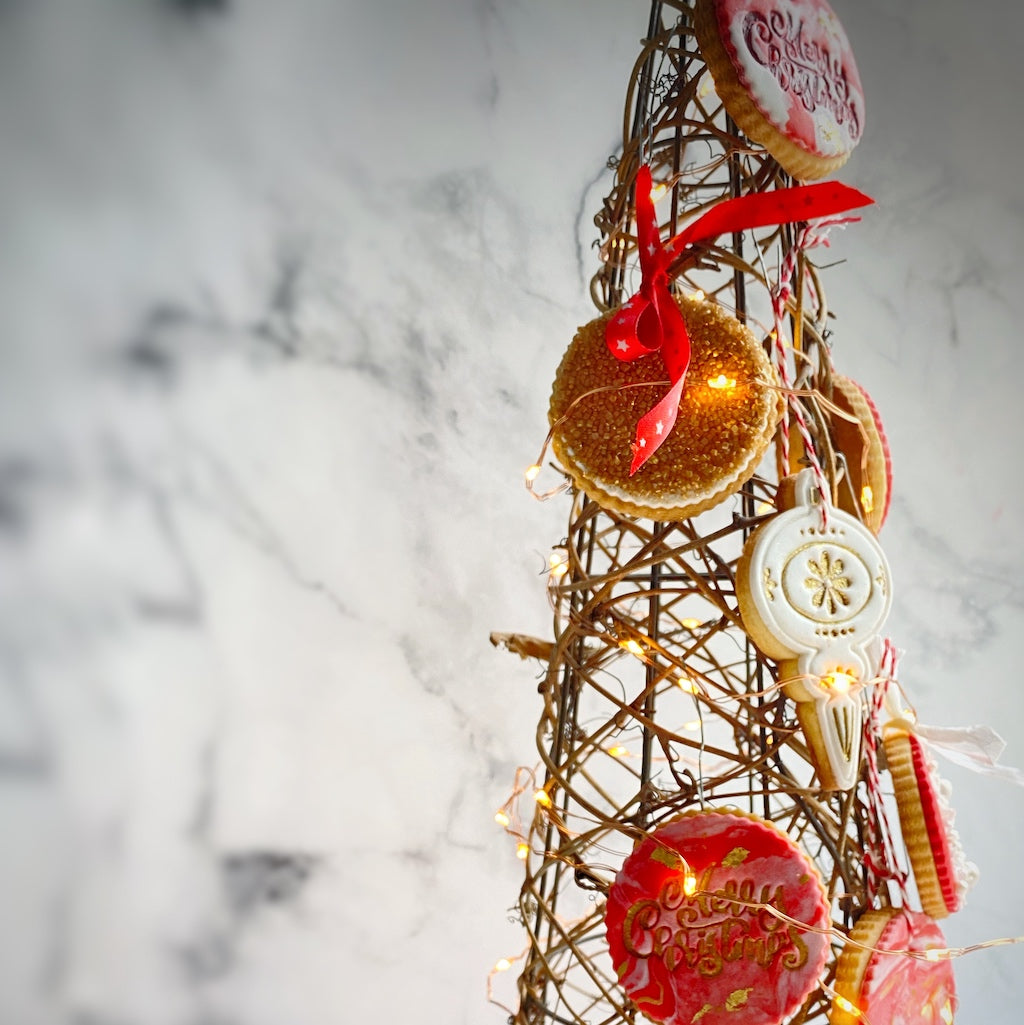
Have fun baking and decorating!

